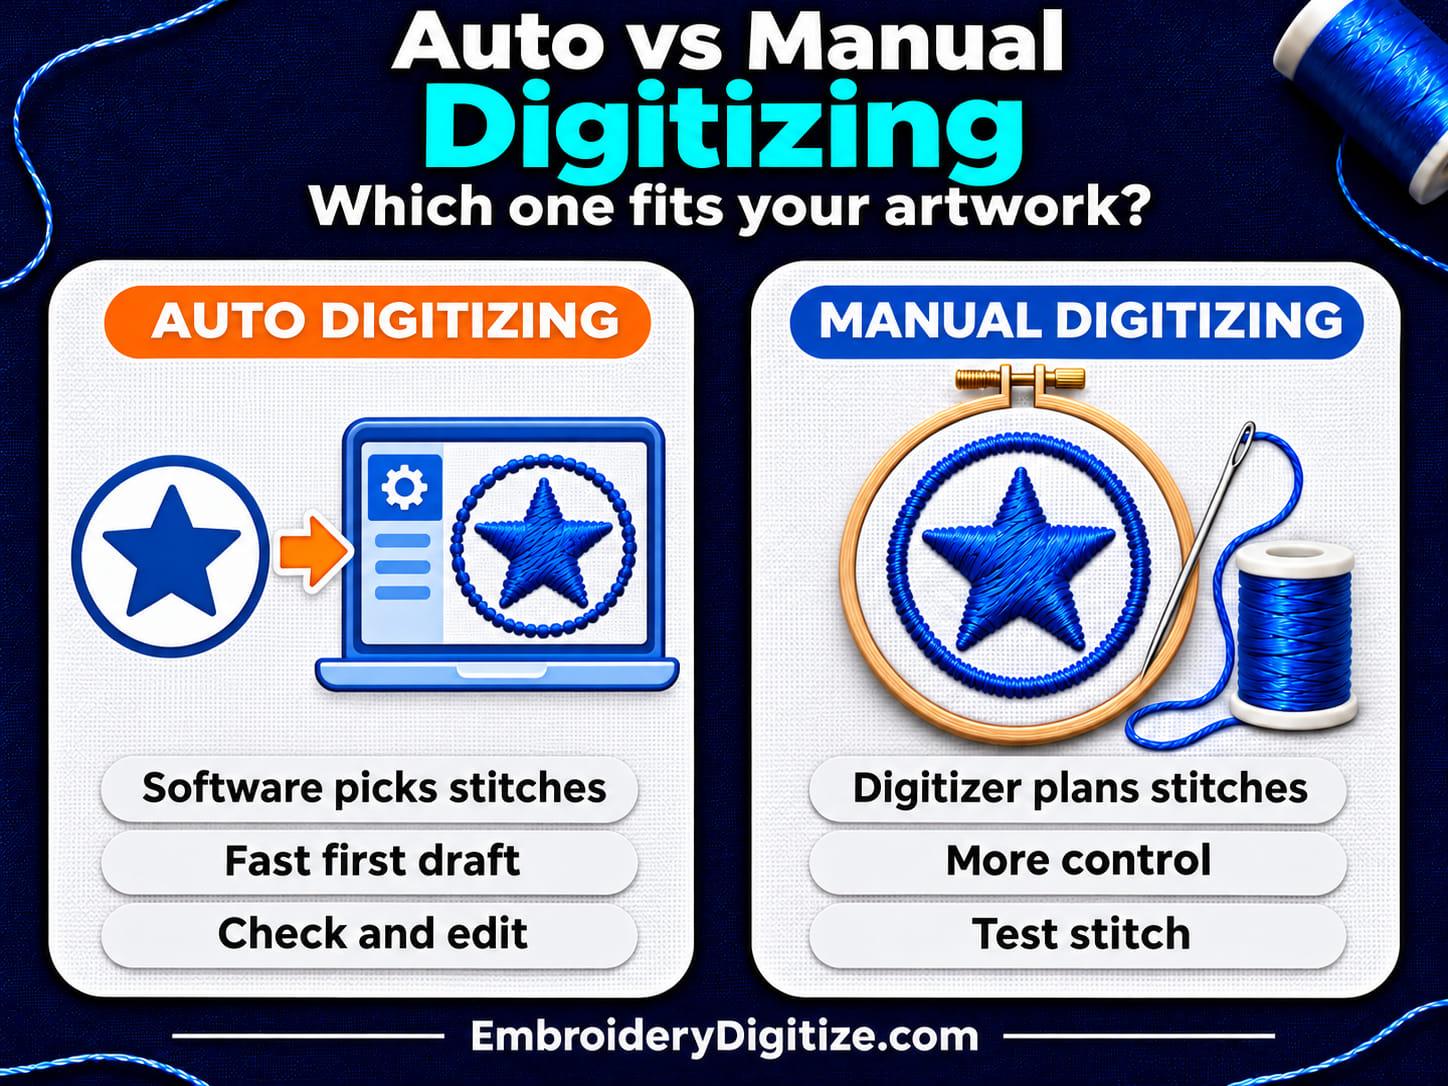
Quick answer: Auto digitizing uses software to turn artwork into stitches with little input; manual digitizing has a person make the stitch decisions: type, direction and order. Auto is quick and can work for clean, simple art. Manual gives more control for detailed or production work. Many digitizers use both: auto first, then edit.
If you searched for an "online digitizer" or "auto digitizing software," you are probably deciding between a tool that does the work for you and a person who does it by hand. This guide explains the difference in plain words, shows where each one fits, and gives you a checklist for judging the result before you stitch it.
The statements about how auto-digitizing works come from Wilcom's published documentation and an independent software tutorial, listed at the end. We have not run a side-by-side test of every tool, so treat this as a guide to the trade-offs, not a ranking of products.
What Is Auto Digitizing in Embroidery?
Auto digitizing means software creates the stitch file from an image or vector graphic automatically. Wilcom's documentation describes its auto-digitizing tools as a way to "digitize shapes in graphics automatically without using manual digitizing methods," and says its Smart Design feature "automatically converts bitmap images to embroidery."
In practice the software makes decisions you would otherwise make yourself. Wilcom says its Smart Design "will attempt to classify image colors as fills or details and sequence them accordingly," and that by default "the image background is omitted altogether." Details can be stitched as satin, Column C, or double run.
The result is a stitch file, usually in a format such as PES or DST. If you are new to formats, see our guides to PES files and DST files.
What Is Manual Digitizing?
Manual digitizing means a digitizer uses embroidery software and decides how the design will be stitched: where each object starts and ends, which stitch type it uses, the stitch direction, the order, and how it should behave on the fabric. The artwork is a guide; the stitch plan is created by a person.
That plan covers things such as satin versus fill stitches, underlay, and pull compensation. Our guide on how to digitize a logo for embroidery walks through the manual workflow step by step.
Auto Digitizing vs Manual Digitizing: What Is the Difference?
| Question | Auto digitizing | Manual digitizing |
|---|---|---|
| Who makes stitch decisions? | The software, using rules and default settings | A digitizer, object by object |
| Speed | Very quick; Wilcom's Instant Smart Design is described as creating embroidery "instantly" | Takes a person's time, more for complex art |
| Control | Limited to the tool's options and settings | Full control of stitch type, direction, order and entry points |
| Depends heavily on | Artwork type and quality | The digitizer's skill and the artwork |
| Fabric settings | Defaults that should be checked and adjusted | Chosen for the fabric and garment |
| Best for | Clean, simple artwork, previews, a first draft to edit | Detailed logos, lettering, and production runs |
When Does Auto Digitizing Work Well?
Wilcom's documentation says "the quality of auto-digitized designs greatly depends on the type and quality of the original artwork." Its knowledge base article on auto-digitizing says it "works best with clean, high-quality artwork – few colors, sharp edges." Wilcom's documentation treats vector graphics as the stronger starting point, because bitmaps can suffer "pixelation and image degradation when enlarged or scaled down."
Auto digitizing is a reasonable choice when:
- the artwork is simple, with clean edges and a small number of flat colors;
- you want a quick preview or stitch estimate. Wilcom says its auto-digitizing output is useful for previews and pricing;
- you plan to open the file afterwards and edit it, rather than send it straight to a machine.
What Are the Limits of Auto Digitizing?
Wilcom's own knowledge base is direct about this. It describes auto-digitizing as "not a substitute for expert digitizing," and says production designs often need editing or full redigitizing. It lists these limits:
- Default stitch rules: "Stitch type and direction rules are reasonable defaults, but not always optimal."
- Default fabric settings: "Fabric-related parameters (underlay, density, pull-compensation) use default settings," and Wilcom says they should be checked and adjusted before production.
- Input quality: poor images may need manual fixes. Wilcom's Prepare Bitmap Colors tool exists to reduce colors and remove "noise" such as dithering and anti-aliasing. A well-prepared bitmap can work too; the point is that the cleaner the input, the less fixing afterwards.
- Preview is not a stitch-out: Wilcom says its TrueView preview "is not a 3D render of the artwork" but a simulation of stitches, so a test stitch still matters.
Photos are a special case. Wilcom's documentation lists a separate "Auto-digitize with Color PhotoStitch" method for photographs, which we have not tested, and the logo-style methods above are not designed around photos. An independent tutorial for another program, Stitch Era, says the same thing in blunter terms: of difficult pictures it warns that "the raw result may look depressingly bad at first glance" and that auto-digitized results "need a lot of cleaning up."
What Is an Online Digitizer for Embroidery?
"Online digitizer" is used for two quite different things, so check which one you are looking at:
| What the site offers | How the stitches are made | What to check |
|---|---|---|
| An online tool where you upload an image | Software generates the file (auto digitizing) | Whether you can preview and edit the result, and which formats it saves |
| An online digitizing service where you send artwork | A person digitizes it and sends back the file (manual digitizing) | Revision policy, file formats, and whether you get a test or proof |
An online service may also mix the two, with software making a first pass and a person finishing it, so ask how the file is made. Not every tool called "AI embroidery digitizing" works the same way. The label is marketing, not a technical standard, and we have not tested those tools, so judge any of them by the stitch file it produces, using the checklist below.
For reference, EmbroideryDigitize's own tools do not auto-digitize. The Smart Studio editor edits embroidery files you already have, and the free format converter converts existing stitch files; neither creates stitches from a logo or image. Custom digitizing on the site is described as done by experienced digitizers; see in-house vs outsourced digitizing for how that compares with doing it yourself.
What Is Semi-Automatic Digitizing?
There is a middle path. Wilcom's documentation says EmbroideryStudio supports "the automatic and semi-automatic digitizing of both bitmap images and vector graphics." In its "auto-digitize individual shapes" method you choose a fill method, such as Tatami Fill or Turning Satin, and click the shapes you want. The software then generates stitches "according to current settings," and you can edit the result, including colors, stitch angles, and entry and exit points.
That is why many digitizers do not treat auto and manual as opposites: the software does the repetitive work, and the person fixes what the software cannot judge.
How Do I Check an Auto-Digitized File Before Stitching?
- Start with clean artwork. Use a vector file if you have one. For a bitmap, crop it, reduce stray colors and remove noise first.
- Run the auto-digitizer and look at the stitch types. Check that large areas are fills and thin lines are satin or runs, not the other way round. See satin vs fill.
- Check the order. Wilcom's guidance is to stitch fills first and details last; confirm the order suits your design.
- Review fabric settings. Underlay, density and pull compensation come as defaults. Adjust them for the fabric and garment.
- Edit or redigitize where needed. Fix small objects, odd jumps and stray stitches.
- Sew a test. Stitch a sample on the same kind of fabric and stabilizer before the real garment.
Which Should I Choose?
| Your situation | A sensible choice |
|---|---|
| Simple clean shape, just testing an idea | Auto digitizing, then edit and test |
| Need a quick look or stitch estimate | Auto digitizing for the preview |
| Customer logo for hats, polos or jackets | Manual digitizing, or auto followed by expert editing |
| Fine detail, small lettering, or many colors | Manual digitizing, then a test stitch |
| Photo or gradient artwork | Expect heavy editing; read our image to embroidery guide |
| Hand-drawn or pet line art | See line art digitizing for pet pictures |
Frequently Asked Questions
What is auto digitizing in embroidery?
Software converts artwork into stitches automatically, choosing stitch types, colors and order from default rules, instead of a person setting each one.
What is manual digitizing?
A digitizer uses embroidery software to decide every stitch type, direction, order and setting, using the artwork as a guide.
Is auto digitizing as good as manual digitizing?
Not in every case. Wilcom's documentation says auto-digitizing is not a substitute for expert digitizing, and that results depend heavily on the artwork.
Is auto digitizing faster?
Yes. The software can create stitches in moments. The time you save may be spent later on editing and test stitching.
Can I auto digitize a photo?
You can try, but photos and gradients usually need color reduction and heavy editing. Wilcom recommends preparing the image first, and clean artwork works best.
Which artwork works best for auto digitizing?
Clean, high-quality artwork with simple shapes and flat colors. Vector graphics are a stronger starting point than low-resolution bitmaps.
Does auto digitizing set the right underlay and density?
It sets default values. Wilcom says underlay, density and pull compensation use default settings that should be checked and adjusted before production.
What does "online digitizer" mean?
It can mean a web tool that auto-digitizes an upload, or a service where a person digitizes your artwork and returns the file. Check which one you are using.
Is "AI embroidery digitizing" different from auto digitizing?
The term is not a technical standard. Judge any tool by the stitch file it produces: preview it, edit it, and test stitch it.
Can I edit an auto-digitized file?
Yes, in embroidery software. Editing is a normal part of the workflow, and fixes often include stitch types, angles and entry points.
Do I need a test stitch?
Yes, for either method. Wilcom's preview is a simulation, not a 3D render, so a sample on your fabric is the real check.
Can the EmbroideryDigitize converter or Smart Studio digitize my logo?
No. They work on existing embroidery files. Turning a logo or image into stitches is a digitizing job.
Final Thoughts
Auto digitizing is a fast starting point, and manual digitizing is the more controlled one. The choice depends on your artwork and what the file is for: a quick preview, a personal project, or a garment you are delivering to a customer.
Whichever you use, check the stitch types, order and fabric settings, edit what needs fixing, and sew a test before the final garment.
Sources and Further Reading
Facts about auto-digitizing come from the pages below, which we opened on November 15, 2026. The Wilcom links are to EmbroideryStudio version 27 help; features change between versions, so check your own program's documentation.
- Automatic Digitizing (Wilcom EmbroideryStudio documentation).
- Auto-digitizing artwork (Wilcom): artwork type and quality.
- Auto-digitize 'instant embroidery' and Auto-digitize entire designs (Wilcom).
- Auto-digitize individual shapes and Prepare bitmaps for auto-digitizing (Wilcom).
- Digitizing with Bitmaps (Wilcom): automatic and semi-automatic digitizing.
- Understanding auto-digitizing (Wilcom knowledge base; it describes Wilcom's web API workflow): defaults, limits and "not a substitute for expert digitizing."
- Stitch Era: digitizing complex bitmap images (EduTech Wiki): an independent tutorial on cleaning up auto-digitized results.
- Related on embroiderydigitize.com: image to embroidery file, free embroidery digitizing software, and digitizing services guide.
Need a Logo or Image Digitized?
Turn your logo, artwork, or custom design into a production-ready embroidery file.
Create your free EmbroideryDigitize account and submit your artwork, required size, garment type, and preferred embroidery format, such as PES or DST.
Existing customer? Login here.
If you already have an embroidery file but need another machine format, use our Free Embroidery Format Converter to convert supported embroidery files online.