Cap Digitizing
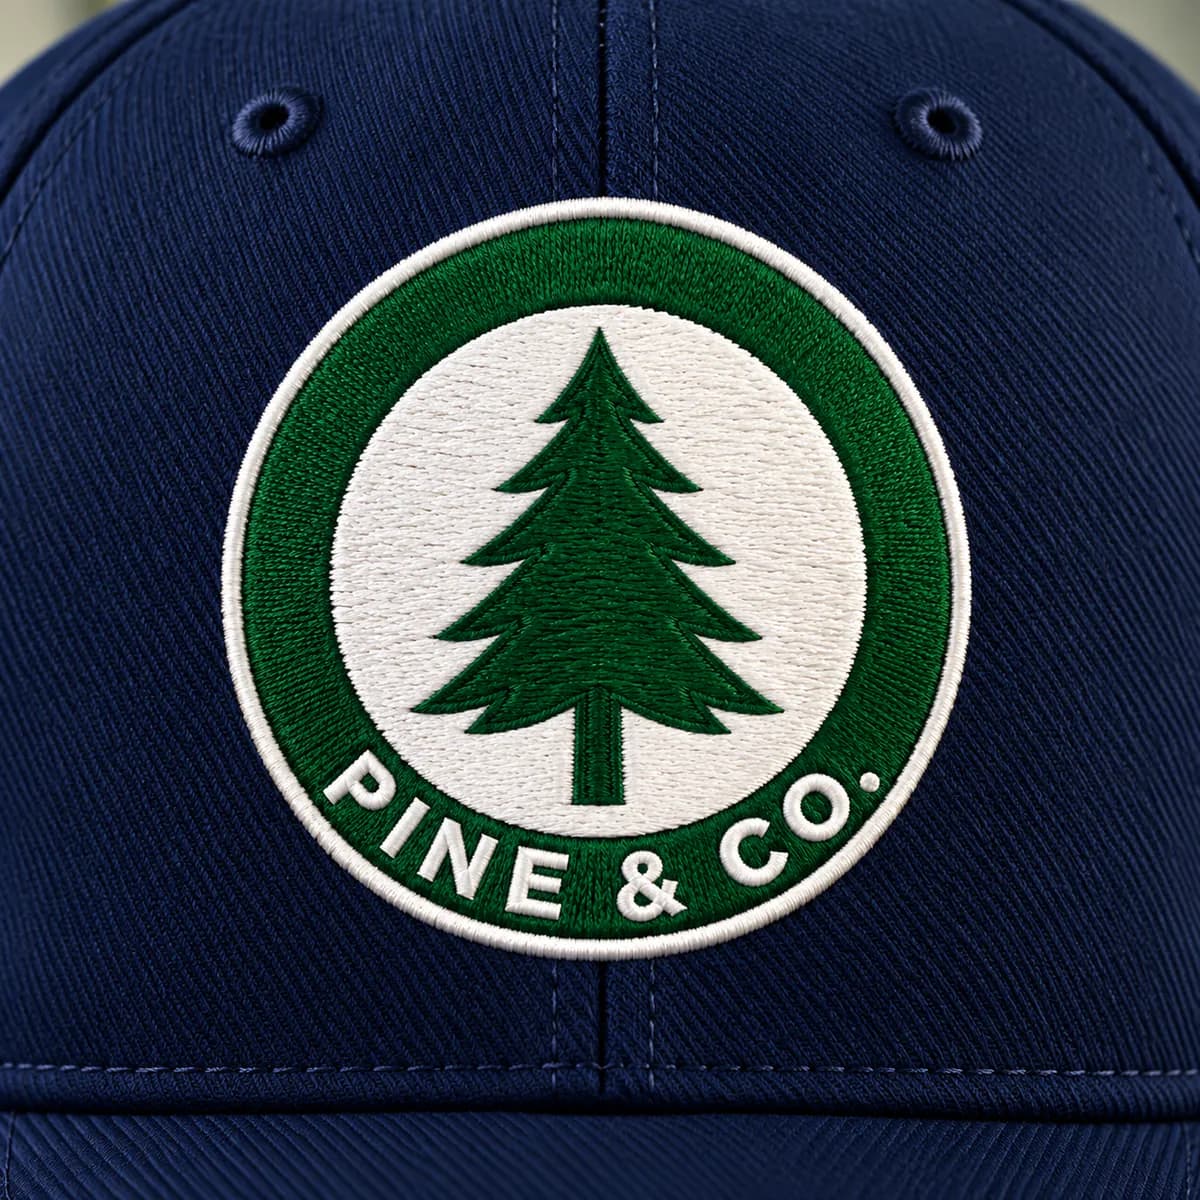
Cap and hat embroidery digitizing, built for the curve
Logos digitized for structured caps, trucker hats, dad hats, beanies and visors. Your design is sequenced from the centre out and from the bottom up, so it sews flat on a cap frame without puckering or gaps. Delivered in 6–24 hours, or in 1–6 hours with rush.
- 6–24 hr delivery
- Rush in 1–6 hours
- Free revisions
- No account needed

Why Caps Are Different
A cap needs its own file
A cap front is curved, stiff and often seamed down the middle, and on a cap frame it's held only along the bottom. A design digitized for a flat shirt pushes the fabric up and out as it sews, so outlines drift away from fills, lettering leans and gaps open along the seam.
Cap digitizing fixes that with stitch order and structure. We sew from the middle outward and from the bottom up, keep the underlay firm but light, and adjust density and pull compensation for the stiff backing behind the front. The result lines up on structured six-panel caps, low-profile dad hats and trucker caps alike.
Best for
- Structured six-panel and snapback fronts
- Low-profile dad hats and unstructured caps
- Trucker caps with mesh backs
- Beanies and knit cuffs
- Side, back arch and visor placements
- Raised 3D puff cap logos
How We Digitize It
Sequenced for the cap frame
Stitch order, underlay and density, all planned for a curved, stiff front held at one edge.
Centre-out sequencing
Each part sews from the middle of the cap outward, so the fabric is pushed evenly to the sides instead of bunching up.
Bottom-up stitching
Elements sew from the brim upward, toward the open top of the frame, so the fabric isn't trapped and doesn't pucker.
Sized for the front
We fit your logo to the cap's sewing area, around 5 × 2.25″ on a structured front, and adjust lettering so it stays readable.
Planned around the seam
Lettering and fills are placed with the centre seam of six-panel caps in mind, so letters don't sink into it or split across it.
Underlay for stiff fronts
Firm, light underlay and tuned density hold the stitches up on a stiff front without turning it rigid.
Puff-ready if you want it
Choose 3D puff for raised lettering, the classic look on a structured cap.
Examples
Caps, stitched
What a logo digitized for caps looks like on different hats.
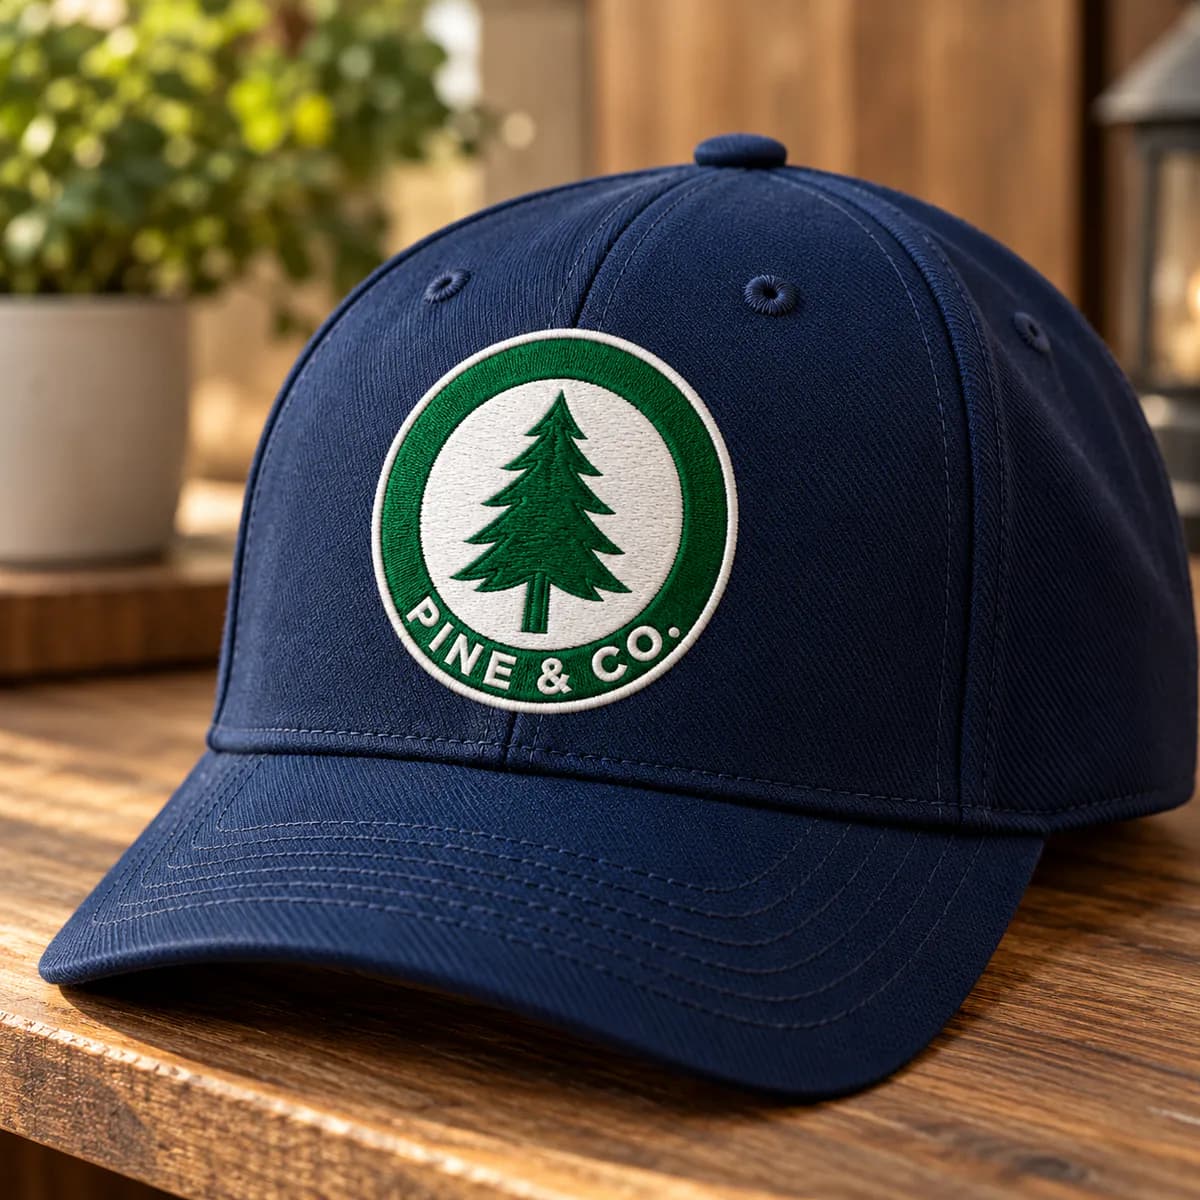
A logo on a structured cap front 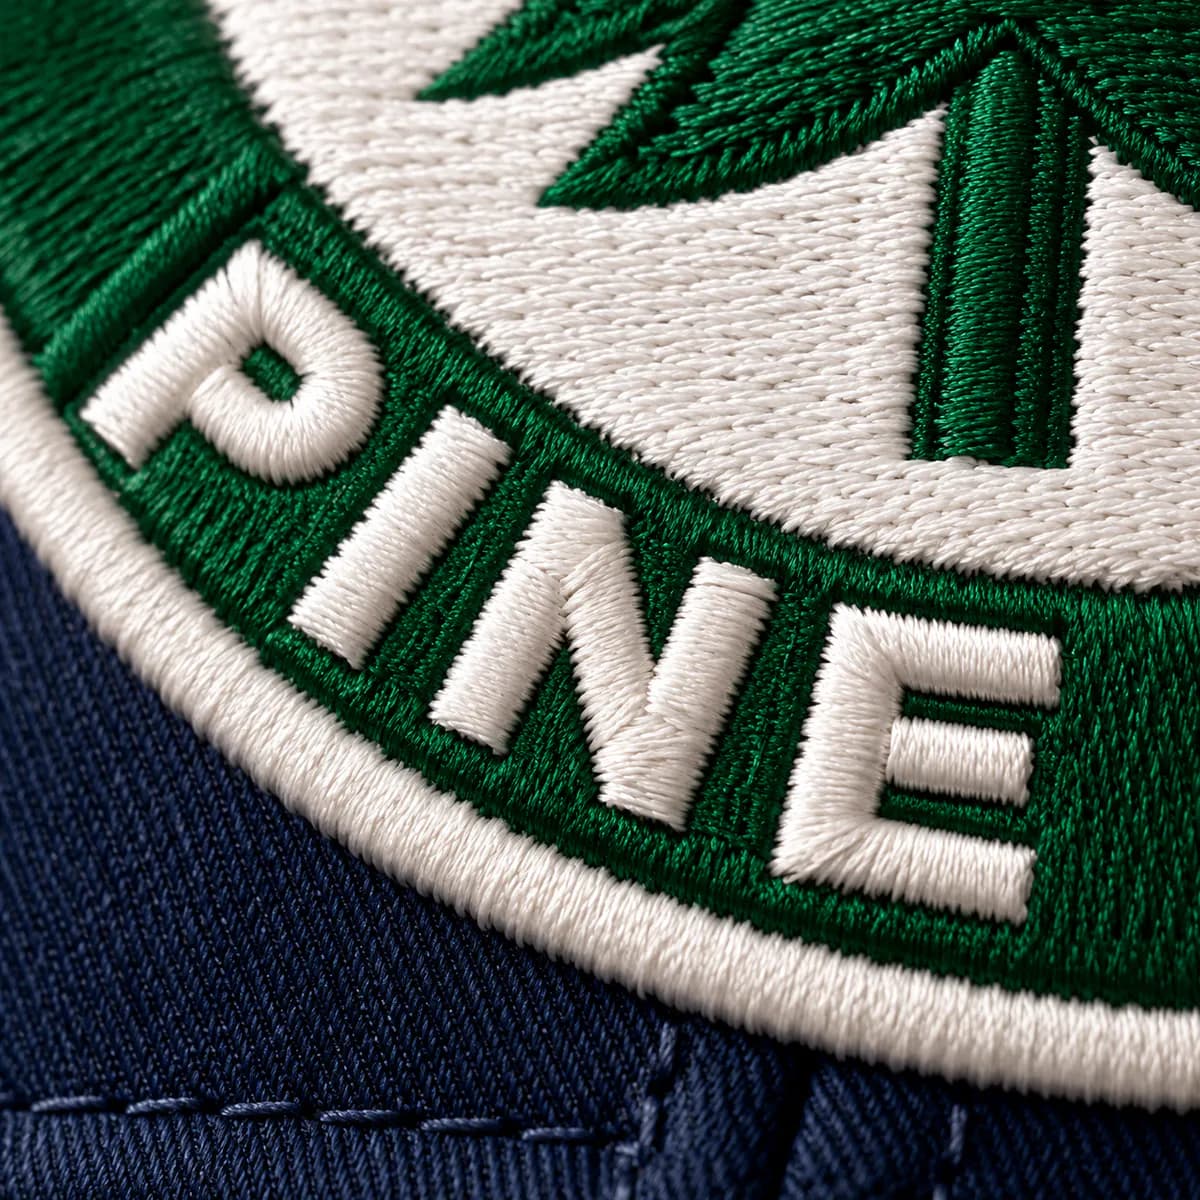
Smooth satin lettering, up close 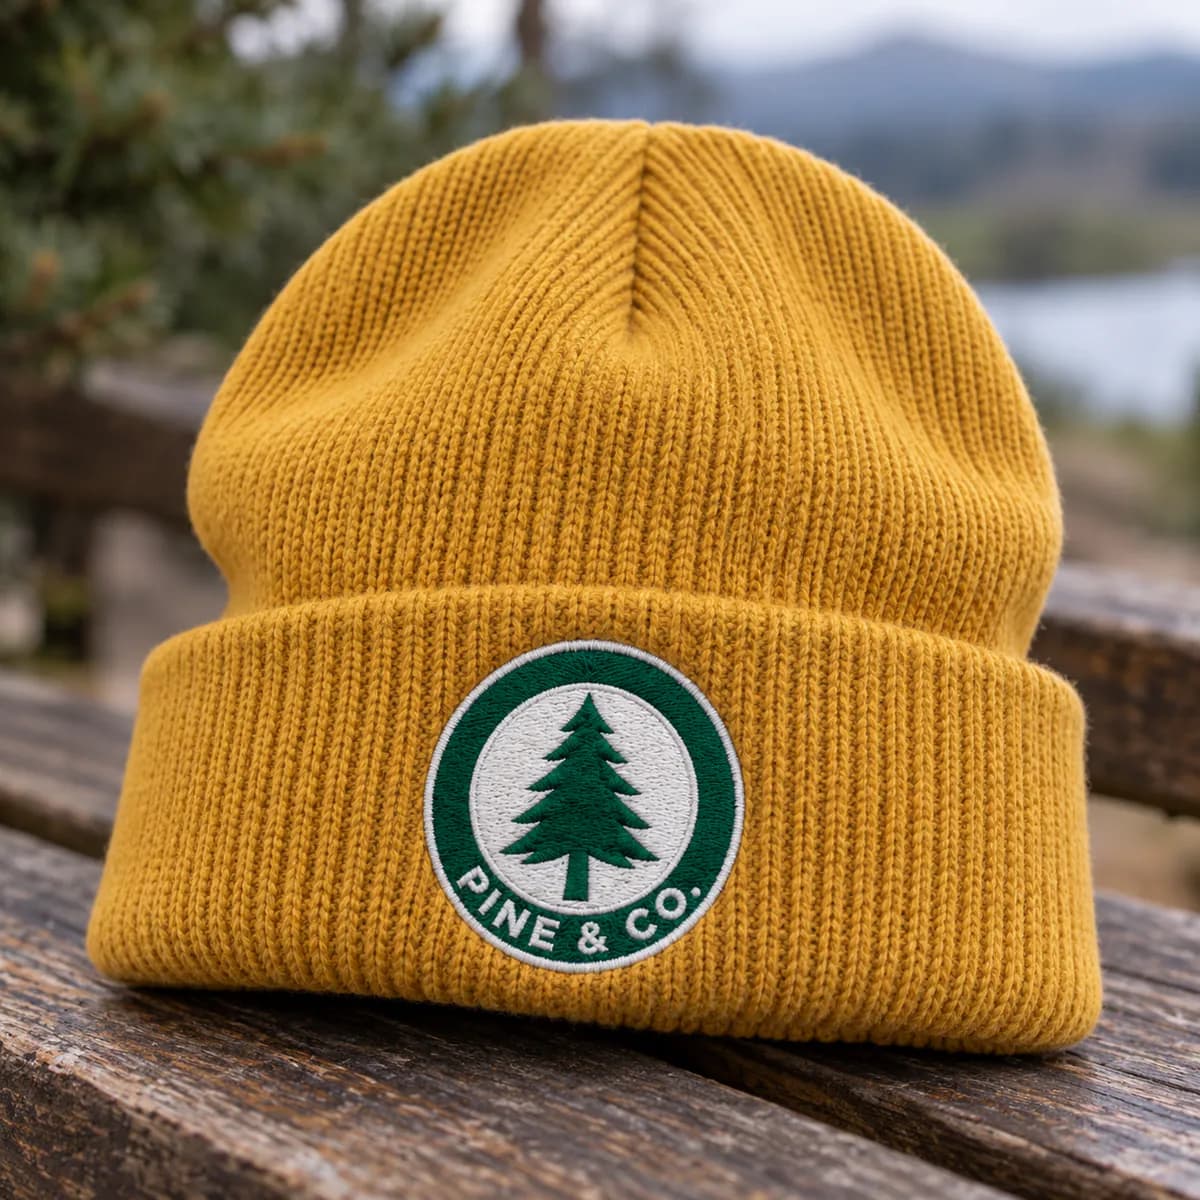
A logo on a beanie or trucker cap
Pricing
Priced by design size
Measured on the longer side of the design. Each size you order is priced separately.
Extras are charged once per design, and every file format you need is included in the price.
- Rush (1–6 hours)+$10Delivered in 1–6 hours, depending on size and detail.
- 3D puff+$10Raised foam stitching with the extra density and closed ends that puff needs.
- Applique+$10Fabric cut-outs with placement, tack-down and cover stitches.
Before You Order
Getting a great cap result
What to send us
- Your logo, as large and sharp as you have it
- The hat: structured cap, unstructured cap, trucker, beanie or visor
- Where it goes: front, side, back arch or visor
- The finished size, if you have one in mind
- Your machine, or the formats you need, such as DST
Tips for the best result
- Keep cap lettering bold, as very small or thin letters get lost on the curve
- Use a cap frame and a firm tear-away backing for structured fronts
- Line the centre seam up with the centre mark on your cap frame
- Sew a test on a spare cap before a full run
How It Works
From artwork to stitch file in three steps
Order and pick Cap front
Upload your logo, choose Embroidery Digitizing, and pick the Cap front placement or your own size. Mention the hat style in the instructions.
We digitize it for caps
Our team sequences the file for a cap frame by hand, centre-out and bottom-up. Typically 6–24 hours.
Download and stitch
Your files arrive by email and on your order page. Need a change? Revisions are free.
FAQ
Cap digitizing questions
Can I use my shirt file on a cap?
It often sews poorly. A file made for a flat shirt sews in an order that pushes cap fabric out of place, so outlines miss fills and gaps open along the seam. Send us your artwork or your existing file, and we'll digitize a version made for caps.
What size should a cap logo be?
Most structured cap fronts take a design up to about 5 × 2.25″. Low-profile caps and beanies are smaller. Choose the Cap front placement on the order form and we'll fit your logo to it.
How much does cap digitizing cost?
Cap digitizing is priced by design size, measured on the longer side: up to 4″ is $10, up to 8″ is $25, up to 12″ is $35 and over 12″ is $40. The Cap front placement on the order form (5 × 2.25″) is $25. See the pricing page for details.
Do you digitize for beanies and visors?
Yes. Beanies, visors, bucket hats and the sides and back of caps each have their own limits, so tell us the hat and placement in your order instructions and we'll size and sequence the file for it.
More answers on our FAQ page.
Keep Exploring
More ways we can help
3D Puff Embroidery Digitizing
Raised lettering and logos stitched over foam: the bold look for structured cap fronts, jackets and hoodies.
Explore 3D PuffEmbroidered Patch Digitizing
Patch files with full stitch coverage and dense satin borders, ready for twill or felt and any cutting method.
Explore PatchesEmbroidery Digitizing
Every kind of logo and artwork, digitized by hand into stitch-ready files for every machine.
Explore embroidery digitizingReady to put your logo on a cap?
Upload your logo now and get a cap-ready file in 6–24 hours. No account needed, and revisions are free.