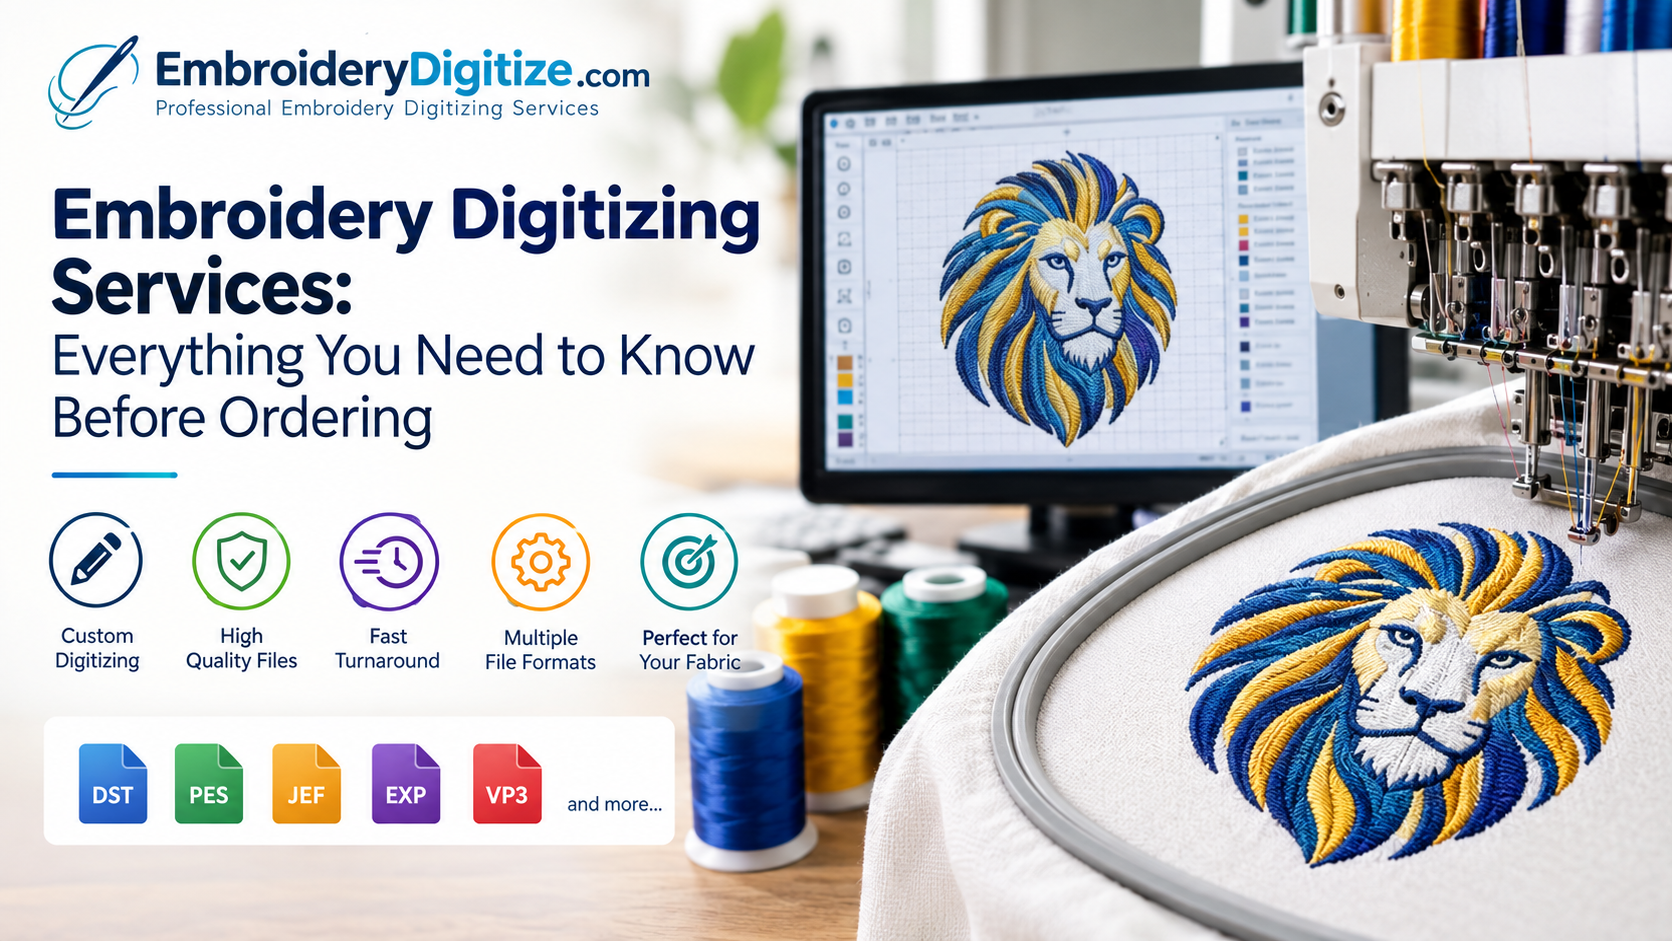
Professional embroidery starts with more than a good-looking artwork file. Before a design can be stitched onto a garment, cap, jacket, bag, or other fabric item, the artwork needs to be converted into a format that an embroidery machine can understand. This process is known as embroidery digitizing.
If you are looking for reliable embroidery digitizing services, understanding the digitizing process can help you get better results, reduce production problems, and make sure your final embroidered design looks as close as possible to the original artwork.
In this guide, we will explain what embroidery digitizing is, how the process works, what affects digitizing quality, and how to prepare your artwork before sending it to a professional digitizer.
What Is Embroidery Digitizing?
Embroidery digitizing is the process of converting artwork into a stitch-based embroidery file that can be read by a computerized embroidery machine. Unlike a regular image such as JPG, PNG, or PDF, an embroidery file contains instructions about how the machine should create the design using stitches.
A professional digitizer analyzes the artwork and determines important details such as:
- Stitch types
- Stitch direction
- Stitch density
- Underlay
- Thread sequence
- Color changes
- Pull compensation
- Trim points
- Stitch length
- Design size and proportions
The goal is not simply to trace an image. The goal is to create a production-ready embroidery design that works effectively with thread, fabric, stabilizer, and the intended embroidery machine.
Why Professional Embroidery Digitizing Matters
A high-quality artwork file does not automatically produce high-quality embroidery. Embroidery behaves differently from printing because thread interacts with fabric in a physical way.
If a design has incorrect stitch density, poor sequencing, unsuitable stitch types, or inadequate underlay, the finished embroidery may have problems such as puckering, gaps, distortion, thread breaks, or poor detail.
Professional embroidery digitizing services take these production factors into consideration before the design is stitched.
How the Embroidery Digitizing Process Works
Although the exact workflow can vary depending on the design, professional embroidery digitizing generally involves several important steps.
1. Artwork Evaluation
The first step is reviewing the artwork. The digitizer examines the design's shapes, text, colors, outlines, small details, and intended embroidery size.
The artwork may be supplied as a JPG, PNG, PDF, AI, EPS, SVG, or another common format. A clean vector file can be especially useful for identifying shapes and creating accurate embroidery objects, but experienced digitizers can often work with raster artwork as well.
2. Design Planning
Before placing stitches, the digitizer plans how the design should be constructed. This includes deciding which areas should use satin stitches, fill stitches, running stitches, or other suitable stitch techniques.
Good planning also considers the order in which different sections will be embroidered. Proper sequencing can help minimize unnecessary jumps, trims, and visible registration problems.
3. Selecting Stitch Types
Different parts of an embroidered design require different stitch structures.
Satin stitches are commonly used for borders, lettering, narrow columns, and clean decorative areas.
Fill stitches can cover larger sections and create different textures depending on their direction and density.
Running stitches are useful for fine lines, details, outlines, and lightweight design elements.
The appropriate stitch type depends on the artwork, size, fabric, and desired appearance.
4. Setting Stitch Direction
Stitch direction plays an important role in the visual appearance of embroidery. Changing stitch angles can help define shapes, create texture, and make certain parts of the design stand out.
A skilled digitizer uses stitch direction intentionally rather than applying the same direction to every object.
5. Adding Underlay
Underlay stitches are placed beneath the visible stitches. They can help stabilize the fabric, support the top layer of stitches, and improve coverage.
The type and amount of underlay should be selected according to the fabric and design. Too little support can affect coverage and stability, while excessive underlay can add unnecessary bulk.
6. Adjusting Density and Pull Compensation
Embroidery stitches can pull on fabric as they are sewn. Professional digitizing accounts for this behavior by adjusting stitch density and applying appropriate pull compensation where needed.
These adjustments can help maintain the intended shape of the design and reduce issues caused by fabric movement or stitch pull.
7. Sequencing the Design
The order of embroidery objects matters. A thoughtful sequence can reduce unnecessary thread changes and trims while helping different sections of the design align properly.
For complex artwork, sequencing is an important part of producing clean and efficient machine embroidery.
8. Testing and Quality Checking
A digitized file should be reviewed before production. Depending on the project, the design may be simulated digitally or test stitched on the intended or similar fabric.
Testing can reveal problems that are not obvious when looking at the original artwork, including excessive density, registration issues, thread breaks, small details, or unsuitable stitch structures.
What Makes a High-Quality Embroidery Digitized Design?
Several factors contribute to professional embroidery digitizing quality.
Clean Stitch Structure
Stitches should be arranged logically and efficiently. Poorly structured designs can create unnecessary jumps, trims, thread changes, and production difficulties.
Appropriate Density
Stitch density should match the design and fabric. Increasing density is not always the best way to improve coverage. Excessive stitches can make embroidery heavy, stiff, or difficult to sew.
Correct Underlay
Underlay provides a foundation for the visible stitches. The appropriate underlay can improve stability and coverage, particularly on fabrics that require additional support.
Good Registration
Different sections of an embroidery design need to align correctly. Proper planning, sequencing, compensation, and testing can help maintain clean registration.
Readable Small Text
Small lettering can be one of the most challenging elements in embroidery. Fonts that look excellent in print may not remain readable when reduced to a small embroidered size.
Professional digitizing considers letter height, stitch direction, density, spacing, and the characteristics of the selected fabric.
What Types of Artwork Can Be Digitized?
Almost any suitable artwork can potentially be converted into an embroidery design, although the complexity and amount of manual work can vary considerably.
Common projects include:
- Company logos
- Brand marks
- Monograms
- Custom names
- Sports team designs
- School and organization logos
- Hat and cap designs
- Jacket embroidery
- Workwear designs
- Uniform embroidery
- Patch designs
- Decorative embroidery artwork
The final embroidery approach depends on the artwork, intended size, fabric, machine, thread, and desired appearance.
Common Embroidery File Formats
Embroidery machines use different file formats depending on the machine brand and production setup. Common formats include DST, PES, JEF, EXP, VP3, HUS, XXX, and others.
Among these, DST is widely used in commercial embroidery environments, but the correct format depends on the machine that will stitch the design.
When ordering an embroidery digitized file, it is important to tell your digitizer which machine or file format you need.
Why a JPG or PNG Is Not an Embroidery File
A JPG or PNG describes an image using pixels. An embroidery machine, however, needs stitch instructions.
For example, a PNG may show a red circle on a white background, but it does not tell an embroidery machine:
- Where to start stitching
- Which stitch type to use
- What stitch direction to follow
- How dense the stitches should be
- When to change thread colors
- Where to stop or trim
Digitizing converts the visual artwork into those production instructions.
Embroidery Digitizing for Different Fabrics
Fabric selection can have a major impact on embroidery results. A design that works well on a structured twill garment may require adjustments when embroidered onto a lightweight or stretchy material.
Different materials can have different levels of stability, stretch, thickness, and surface texture. These characteristics influence choices such as underlay, density, stitch length, and compensation.
For this reason, it is useful to tell your digitizer what type of garment or product you plan to embroider.
Cap and Hat Embroidery Digitizing
Caps and hats present unique embroidery challenges because the embroidery area can be curved and relatively narrow.
Designs intended for caps may need special planning to accommodate the shape of the crown and the direction in which the machine stitches the design.
Text, borders, and other elements may also require adjustments to maintain clean embroidery on curved surfaces.
Embroidery Digitizing for Small Designs
Small embroidery designs require careful attention to detail. A detail that is clearly visible in a large digital image may become too small to reproduce with thread.
Professional digitizing may simplify certain details while preserving the overall appearance and identity of the design.
This is particularly important for small logos, chest embroidery, sleeve designs, labels, and small lettering.
How to Prepare Artwork for Embroidery Digitizing
Providing good artwork can make the digitizing process easier and help communicate your expectations clearly.
Before submitting your design, consider providing:
- The highest-quality artwork available
- A vector file if available
- The required finished embroidery size
- The intended garment or fabric
- The embroidery machine file format required
- Preferred thread colors, if applicable
- Any specific design instructions
- A reference image showing the desired appearance
If the artwork contains very small details, discussing them with the digitizer before production can help establish realistic expectations.
How Much Does Embroidery Digitizing Cost?
The cost of embroidery digitizing varies depending on the complexity of the artwork and the amount of work required.
Simple text or basic logos may require less digitizing work than detailed illustrations, complex logos, photorealistic artwork, or designs containing many elements.
Other factors that may affect pricing include the number of stitches, design dimensions, number of colors, required turnaround time, and whether revisions are needed.
Instead of judging a digitizing service only by price, consider the quality of the resulting stitch file and whether it is suitable for your actual production requirements.
Common Embroidery Digitizing Mistakes
Some common digitizing problems include:
- Using excessive stitch density
- Ignoring the characteristics of the fabric
- Using unsuitable stitch types
- Making small text too detailed
- Failing to use appropriate underlay
- Poor stitch sequencing
- Ignoring pull compensation
- Creating unnecessary trims and jumps
- Not testing the design before large-scale production
These issues can affect embroidery quality, production speed, thread consumption, and the overall appearance of the finished product.
Embroidery Digitizing vs. Embroidery Design
Embroidery design and embroidery digitizing are related but not identical.
An embroidery design can refer to the visual artwork or concept that will appear on the finished product. Digitizing is the technical process of converting that artwork into machine-readable stitches.
A design can look perfect on a computer screen but still require substantial digitizing work before it is ready for an embroidery machine.
Why Choose Professional Embroidery Digitizing Services?
Professional digitizing can save time and reduce production issues by creating files specifically designed for machine embroidery.
A professional digitizer understands that embroidery is a physical production process. The goal is not simply to create a file that opens in embroidery software, but to create a stitch plan that can produce a clean and practical embroidered result.
For businesses, apparel brands, promotional companies, uniform suppliers, embroidery shops, and custom clothing businesses, reliable digitized files can become an important part of an efficient production workflow.
Order Professional Embroidery Digitizing
If you have a logo, artwork, or custom design that you want to embroider, EmbroideryDigitize.com provides embroidery digitizing services designed to convert artwork into machine-ready embroidery files.
Whether you need a logo digitized for uniforms, a cap design, a jacket embroidery file, a patch design, or custom embroidery artwork, providing the correct design information can help ensure the file is prepared for its intended application.
Ready to turn your artwork into an embroidery file? Visit EmbroideryDigitize.com to learn more about embroidery digitizing services and submit your design for digitizing.
Frequently Asked Questions About Embroidery Digitizing
What is embroidery digitizing?
Embroidery digitizing is the process of converting artwork into a machine-readable embroidery file containing stitch instructions for computerized embroidery machines.
What file should I send for digitizing?
You can generally provide the highest-quality artwork you have. Vector formats such as AI, EPS, or SVG can be useful, while high-resolution PNG, JPG, and PDF files may also be suitable depending on the artwork.
What is the most common embroidery file format?
DST is widely used in commercial embroidery, but different embroidery machines use different formats. You should confirm the required format before ordering.
Can a JPG logo be digitized for embroidery?
Yes. A JPG logo can be used as a reference for digitizing. The digitizer converts the visual information into embroidery objects and stitches rather than simply converting the JPG directly.
Can small text be embroidered?
Small text can sometimes be embroidered, but readability depends on factors such as letter height, font, fabric, thread, stitch structure, and the final embroidery size.
Does embroidery digitizing work for hats?
Yes. Designs can be digitized specifically for hats and caps. Because caps have curved surfaces, the design may require specialized planning and adjustments.
Why does the same design look different on screen and on fabric?
Embroidery uses physical thread and fabric, while a computer screen displays pixels. Stitch density, thread type, fabric, lighting, and embroidery size can all affect the final appearance.
Final Thoughts
Good embroidery begins with good digitizing. The digitizing process determines how artwork is translated into stitches, how different sections are constructed, and how the design interacts with fabric during production.
By providing clear artwork, specifying the intended embroidery size and fabric, and working with a professional digitizing service, you can create embroidery files that are better suited to real-world production.
If you need a logo or custom artwork converted into a machine embroidery file, explore the embroidery digitizing services at EmbroideryDigitize.com.