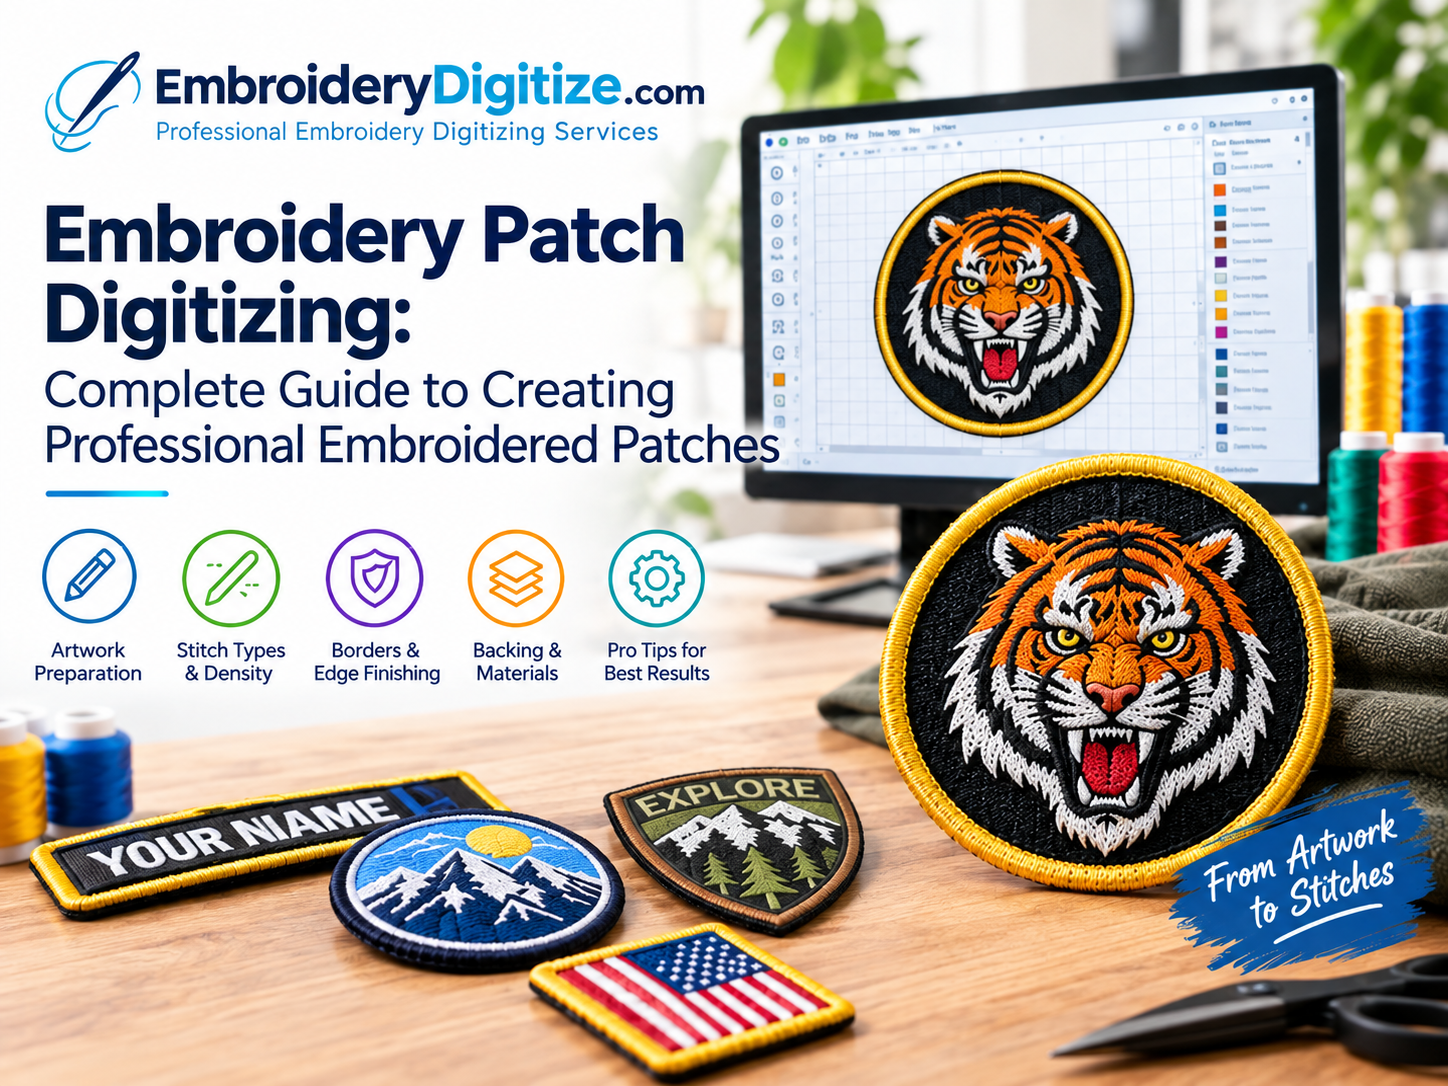
Embroidered patches are a popular way to turn logos, names, illustrations, badges, and custom artwork into durable and professional-looking products. They are widely used on jackets, uniforms, caps, bags, backpacks, workwear, sports apparel, and fashion products.
However, creating a high-quality embroidered patch requires more than simply converting an image into an embroidery file. Embroidery patch digitizing requires careful planning of stitch types, stitch density, underlay, borders, lettering, sequencing, sizing, and the final patch construction.
An image that looks perfect on a computer screen may need significant adjustments before it can produce a clean, readable, and durable embroidered patch. In this complete guide, you'll learn how embroidery patch digitizing works, how to prepare your artwork, which stitch types are commonly used, how patch borders are created, and what to consider before ordering a professional digitized patch file.
What Is Embroidery Patch Digitizing?
Embroidery patch digitizing is the process of converting artwork into a machine-readable embroidery file specifically planned for producing an embroidered patch.
Unlike direct embroidery, where stitches are sewn directly onto a garment or product, an embroidered patch is normally created separately and then finished and attached to another item. Because of this, the digitized design must account for the patch's shape, border, base material, backing, edge finishing, and final dimensions.
A professional patch digitizing file contains instructions for the embroidery machine, including:
- Stitch types and stitch directions
- Stitch density
- Underlay settings
- Object sequencing
- Thread color changes
- Border construction
- Pull compensation
- Trims and machine movements
- Design dimensions
- Details appropriate for the finished patch size
The goal is to create a production-ready embroidery file that produces a clean, durable, and visually accurate patch rather than simply reproducing the original image with stitches.
If you're new to embroidery digitizing, our guide on why embroidery digitizing is necessary explains why ordinary artwork needs to be converted into proper stitch instructions before it can be produced by an embroidery machine.
Why Patch Digitizing Is Different From Regular Embroidery
A design embroidered directly onto a shirt, jacket, cap, or bag interacts with the underlying fabric. An embroidered patch is different because the embroidery is normally created on a separate base material and then finished and attached to another product.
This difference affects how the artwork should be digitized.
Patch designs often need:
- A clearly defined outer shape
- A strong and consistent border
- Appropriate backing or stabilizer
- Careful edge coverage
- Suitable stitch density
- Design simplification when necessary
- Strong lettering and outlines
For this reason, an embroidery file that works well for direct garment embroidery may not automatically be the best file for producing an embroidered patch.
For a broader explanation of how professional digitizing works, see our complete guide to embroidery digitizing services.
Common Types of Embroidered Patches
Embroidered patches can be produced in many shapes and styles depending on their intended use.
Logo Patches
Businesses, organizations, clubs, brands, and workwear companies commonly use embroidered logo patches on uniforms, jackets, bags, and promotional products.
When converting a logo into a patch, the digitizer needs to preserve the important characteristics of the brand while adapting the artwork to the physical limitations of embroidery.
Name and Text Patches
Name patches can contain an individual's name, department, position, team name, company name, or other text. Letter height, font selection, spacing, and stitch structure are especially important for these designs.
Military and Tactical-Style Patches
Insignias, badges, symbols, and text-based artwork can be converted into embroidered patches. Small details may need to be simplified depending on the final patch dimensions.
Sports Patches
Sports teams often use embroidered patches featuring team names, mascots, numbers, logos, and other branding elements.
Fashion and Decorative Patches
Custom embroidered patches are also popular for fashion brands, denim, jackets, bags, backpacks, and other products where embroidery is used as a decorative element.
How Embroidery Patch Digitizing Works
The exact workflow varies depending on the artwork and production requirements, but a professional patch digitizing project generally involves several important stages.
1. Review the Artwork
The first step is to evaluate the artwork and determine how well it can be reproduced using embroidery.
The digitizer examines the shapes, text, outlines, colors, fine details, and intended finished dimensions. High-quality artwork can make the process easier, but professional digitizers can often work from JPG, PNG, PDF, vector, or other available reference files.
If you're unsure whether your artwork is suitable for embroidery, our article on professional embroidery digitizing explains what to look for when choosing a digitizing service.
2. Determine the Finished Patch Size
Patch size is one of the most important pieces of information to provide before digitizing.
A design intended to be 2 inches wide requires a different approach from the same artwork intended to be 6 inches wide. Small details that are possible at a larger size may need to be removed or simplified when the patch is reduced.
Always provide the approximate final width and height when requesting patch digitizing.
For additional guidance on embroidery dimensions, read our embroidery design sizing and placement guide.
3. Define the Patch Shape
The patch shape may be circular, rectangular, shield-shaped, oval, custom-shaped, or another shape determined by the artwork.
The outer shape should be considered during digitizing because the border and edge finishing are important parts of the final patch.
4. Build the Main Design
The internal elements of the patch are converted into suitable embroidery objects. The digitizer chooses stitch types based on the size and shape of each element.
Larger areas may use fill stitches, while narrow elements, outlines, and lettering may use satin or running stitches where appropriate.
5. Create the Border
The border is one of the most recognizable characteristics of an embroidered patch. It provides definition around the outside edge and helps create a finished appearance.
A strong, consistent border can also help separate the embroidered artwork from the surrounding patch material.
6. Adjust Density and Underlay
The digitizer determines appropriate density and underlay for the design and base material.
Too little coverage may leave unwanted gaps or allow the underlying material to show through. Excessive density can make the patch unnecessarily stiff, increase stitch count, and potentially create production problems.
Understanding stitch count is particularly useful when planning a patch. Our guide on why stitch count affects embroidery pricing explains how stitch count relates to embroidery production and pricing.
7. Sequence the Stitching
Objects are arranged in an appropriate stitching order to improve efficiency and registration.
Good sequencing can reduce unnecessary trims and jumps while helping different elements of the patch align correctly.
8. Check the Finished Design
The completed file should be reviewed before production. A digital simulation can help identify certain problems, while a physical test stitch provides even more useful information about how the patch will actually look and behave.
Testing is particularly valuable for complex designs, small lettering, detailed artwork, and patches intended for commercial production.
Which Stitch Types Are Used for Embroidered Patches?
Different parts of a patch may require different stitch structures. The digitizer's job is to choose the stitch type that best reproduces each design element at the intended size.
Satin Stitch
Satin stitches are commonly used for borders, outlines, lettering, and narrow columns. They can create a smooth and dense appearance when used at an appropriate width.
Fill Stitch
Fill stitches are useful for larger areas of color. Stitch direction can be changed between different objects to create visual separation, texture, and dimension.
Running Stitch
Running stitches can be used for fine lines and details where a full satin or fill structure would be unnecessary.
The best stitch combination depends on the artwork, patch dimensions, fabric, backing, and desired appearance.
Why the Patch Border Matters
The border is not simply a decorative detail. It is an important part of the patch's overall construction.
A poorly planned border may look uneven, become too narrow in certain areas, or fail to provide the clean visual separation expected from a finished patch.
Professional digitizing takes the complete patch shape into account and plans the border as part of the overall embroidery structure.
How Small Can an Embroidered Patch Be?
There is no universal minimum size for an embroidered patch because the practical limit depends on the artwork, lettering, stitch types, and level of detail.
Small patches require careful simplification. Tiny lettering, narrow gaps, thin lines, and small decorative elements may not reproduce clearly once converted into thread.
When a design is intended to be very small, the digitizer may need to simplify the artwork while preserving its most recognizable features.
This is similar to other small embroidery applications where artwork needs to be adapted to a specific finished size. Our embroidery sizing and placement guide provides additional information about how design dimensions affect embroidery applications.
How to Handle Text on Embroidered Patches
Text is one of the most challenging parts of many patch designs.
Fonts that look excellent on a computer screen may become difficult to read after being converted into stitches, especially when the lettering is small.
Important factors include:
- Letter height
- Font style
- Character spacing
- Stitch direction
- Stitch density
- Fabric and backing
- Overall patch dimensions
Simple, bold lettering is often easier to reproduce than extremely thin or highly decorative fonts at small sizes.
For additional artwork preparation tips, you can also read our guide to preparing artwork for embroidery, which covers text, line thickness, colors, image quality, transparency, and design simplification.
Should You Simplify Artwork for a Patch?
Sometimes, yes.
Embroidery has physical limitations that do not apply to digital images. A complex illustration may contain hundreds of tiny details, but those details may not all be practical to reproduce with thread.
Professional digitizing may involve simplifying selected areas while preserving the overall identity of the artwork.
For example, very small facial details, thin outlines, tiny gaps, and miniature text may need to be adjusted or removed.
This does not mean the design is being changed unnecessarily. It means the artwork is being adapted to the physical characteristics of embroidery.
For highly detailed artwork, our guide to line art digitizing provides another example of how complex imagery can be simplified into embroidery-friendly artwork.
What Fabric Is Used for Embroidered Patches?
Patch production can use different base materials depending on the desired look and application. Twill and other suitable embroidery fabrics are commonly used for patch construction.
The base material influences how stitches behave and can affect decisions about density, underlay, and coverage.
If you already know which patch material will be used, provide that information when requesting digitizing so the file can be planned accordingly.
Merrowed vs. Laser-Cut Patch Edges
Different finishing methods can be used for embroidered patches.
Merrowed edges create a traditional raised stitched border around the outside of a patch and are commonly associated with classic patch construction.
Laser-cut or die-cut edges can be used for custom shapes that do not work well with a traditional rounded merrowed edge.
The appropriate finishing method depends on the patch design, shape, production method, and desired appearance.
How to Prepare Artwork for Patch Digitizing
The better the artwork information you provide, the easier it is to plan the digitizing process.
Before submitting your design, try to provide:
- The highest-resolution artwork available
- A vector file if available
- The desired patch width and height
- The intended patch shape
- Preferred thread colors
- The intended patch material
- Any specific border requirements
- Reference images if a particular appearance is required
If you do not have a vector file, do not assume the project cannot be digitized. A professional digitizer can evaluate the artwork and determine the best approach.
If you're preparing artwork for a print-on-demand product, our Printify embroidery artwork guide covers practical preparation requirements and common artwork problems.
Common Patch Digitizing Mistakes
Several mistakes can reduce the quality of an embroidered patch.
Using Too Much Detail
Trying to reproduce every tiny detail from a digital illustration can make a small patch difficult to stitch and read.
Ignoring the Final Size
Digitizing without knowing the intended finished size can result in lettering and details that are unsuitable for the final application.
Excessive Stitch Density
More stitches do not automatically mean better embroidery. Excessive density can increase stitch count, stiffness, thread consumption, and production time.
Weak or Uneven Borders
The border is highly visible on a patch. Inconsistent border construction can make the finished product look less professional.
Using the Wrong File Format
The embroidery file must be compatible with the machine or software used for production. Common formats include DST, PES, JEF, EXP, VP3, HUS, and others.
If you're unsure which format your embroidery machine requires, read our detailed guide to PES vs. DST vs. JEF embroidery file formats.
Patch Digitizing and Stitch Count
Stitch count is an important production consideration because it can affect thread consumption, embroidery time, and in many cases the cost of digitizing.
A highly detailed patch with extensive coverage may require considerably more stitches than a simple logo of the same physical dimensions.
However, stitch count should not be increased simply to make a design appear more detailed. The goal is to use an appropriate stitch structure that provides good coverage and a clean result.
For a deeper explanation, read our complete guide to embroidery stitch count and pricing.
Patch Digitizing for Logos
Logo patches are particularly useful for businesses, workwear suppliers, schools, clubs, sports organizations, and brands.
When converting a logo into a patch, it is important to maintain the recognizable characteristics of the original brand mark while adapting it for embroidery.
Small brand elements may need to be simplified, while important shapes, colors, lettering, and outlines should receive enough attention to remain recognizable.
For businesses producing multiple designs or regular orders, professional digitizing can also help maintain consistency across different patch sizes and applications.
Patch Digitizing for Caps, Jackets, and Bags
Embroidered patches can be attached to many different products, including jackets, bags, uniforms, caps, backpacks, and other apparel.
The intended application can influence the ideal patch size and construction.
For example, a patch designed for a jacket may have different size requirements from a small patch intended for a cap or bag.
If you're creating artwork specifically for headwear, our hat embroidery digitizing guide covers cap and headwear considerations such as sizing, placement, stitch types, underlay, and fabric.
Patch Digitizing vs. Direct Embroidery
Both patches and direct embroidery can produce professional results, but they serve different purposes.
| Feature | Embroidered Patch | Direct Embroidery |
|---|---|---|
| Production | Created separately and attached later | Stitched directly onto the product |
| Shape | Can have a defined custom outline | Usually follows the embroidery area on the garment |
| Replacement | Can potentially be removed or replaced | Stitches are directly integrated into the garment |
| Application | Useful for uniforms, jackets, bags, and accessories | Useful for logos, names, branding, and decorative embroidery |
The right option depends on the product, artwork, production process, and intended appearance.
What Embroidery File Formats Can Be Used for Patch Digitizing?
The required file format depends on the embroidery machine used to produce the patch.
Common embroidery formats include:
- DST
- PES
- JEF
- EXP
- VP3
- HUS
- XXX
If you're working with a DST file, our complete DST embroidery file guide explains what DST files contain, how they work, and how they compare with other embroidery formats.
If you're unsure which format your machine requires, our PES vs. DST vs. JEF guide provides a useful comparison of these common machine embroidery formats.
If you already have an embroidery file and only need to change its format, you can use the free EmbroideryDigitize format converter.
Remember that file conversion is different from embroidery digitizing. Conversion changes an existing embroidery file from one format to another, while digitizing creates stitch instructions from artwork.
How to Get Better Results From Patch Digitizing
A few simple steps can make the digitizing process more efficient and help produce a better final patch.
- Provide the final patch size. This helps determine which details are practical.
- Send the best artwork available. High-quality artwork makes design interpretation easier.
- Specify the patch shape. Tell the digitizer whether the patch should be round, rectangular, shield-shaped, or custom.
- Explain the intended application. A patch for a jacket may have different requirements from one for a cap.
- Provide color information. If exact brand colors are important, include the appropriate reference.
- Confirm the machine format. This helps ensure you receive a usable production file.
- Consider a test stitch. Testing can identify issues before a larger production run.
If you regularly order embroidery designs for a business, our guide on in-house vs. outsourced embroidery digitizing explains the differences between managing digitizing internally and using a professional service.
When Should You Hire a Professional Patch Digitizer?
Professional digitizing is particularly useful when a design contains multiple colors, small lettering, complex shapes, detailed artwork, or specific production requirements.
Instead of simply converting an image automatically, a professional digitizer can make technical decisions about stitch structures, density, sequencing, borders, and design simplification.
This can be especially valuable when producing patches for commercial products or larger orders where consistency matters.
If you're looking for a professional service, our article on who offers professional embroidery digitizing explains what to consider when choosing a digitizer.
How Long Does Patch Digitizing Take?
Turnaround time depends on the complexity of the artwork, design size, stitch count, number of colors, required file formats, and whether revisions or special production adjustments are needed.
Simple patch designs may require less preparation than highly detailed artwork with small lettering and complex borders.
For a broader explanation of turnaround factors, see our guide to embroidery digitizing turnaround times.
How Much Does Embroidery Patch Digitizing Cost?
The cost of digitizing depends on factors such as stitch count, artwork complexity, design dimensions, and the amount of work required to prepare the file for production.
For current pricing information, visit the EmbroideryDigitize pricing page to review the current embroidery digitizing options and stitch-count pricing.
Understanding stitch count can also help you understand why different designs have different prices. Our stitch count guide explains this in more detail.
Remember that the cheapest digitizing file is not necessarily the most suitable file for production. A properly constructed design can help reduce avoidable embroidery problems and provide more consistent results.
Order Professional Embroidery Patch Digitizing
At EmbroideryDigitize.com, professional embroidery digitizing services are available for logos, artwork, lettering, patches, and other custom embroidery projects.
Whether you are creating a business logo patch, team patch, uniform patch, decorative fashion patch, or custom embroidered design, the digitized file should be prepared according to the final size and production requirements.
When submitting your artwork, include the desired dimensions, intended application, patch shape, and embroidery file format whenever possible. These details help the digitizer prepare the design for the way you plan to produce it.
You can also explore the EmbroideryDigitize portfolio to see examples of embroidery and digitizing work.
Ready to turn your artwork into an embroidery-ready patch design? Visit the EmbroideryDigitize pricing page to review the current options and get started.
Frequently Asked Questions About Embroidery Patch Digitizing
What is embroidery patch digitizing?
Embroidery patch digitizing is the process of converting artwork into a machine embroidery file specifically planned for producing an embroidered patch.
Can any logo be turned into an embroidered patch?
Most logos can be adapted for embroidery, although highly detailed logos or very small designs may require simplification to reproduce clearly.
What is the best size for an embroidered patch?
There is no universal best size. The appropriate dimensions depend on the artwork, intended application, available space, and level of detail.
Can small text be used on embroidered patches?
Small text can be challenging. Letter height, font style, spacing, fabric, stitch structure, and final patch size all affect readability.
Do embroidered patches need a border?
Many embroidered patches use a defined outer border, but the exact construction depends on the patch shape, finishing method, and design requirements.
What file format do I need for patch embroidery?
The required format depends on the embroidery machine. Common formats include DST, PES, JEF, EXP, VP3, and HUS.
Can I use a PNG or JPG for patch digitizing?
Yes. PNG and JPG files can be used as artwork references for digitizing. A vector file may provide additional information when available, but it is not always required.
Does patch digitizing require different settings from regular embroidery?
Often, yes. Patch construction can require different planning for borders, base material, density, underlay, and edge finishing compared with direct embroidery on a garment.
Can I convert an existing embroidery file into another format?
Yes. If you already have an embroidery file and only need a format conversion, you can use the free embroidery format converter to convert between supported embroidery formats.
Where can I order professional embroidery digitizing?
You can learn more about professional embroidery digitizing services at EmbroideryDigitize.com, including available pricing, turnaround information, and examples of previous work.
Final Thoughts
Professional embroidered patches start with thoughtful digitizing. The quality of the final patch depends not only on the original artwork but also on how that artwork is converted into stitches and adapted to the physical limitations of embroidery.
By providing the correct artwork, finished dimensions, patch shape, intended application, and machine format, you can give your digitizer the information needed to create a more production-ready file.
Whether you need a custom logo patch, name patch, team patch, fashion patch, or another embroidered design, professional embroidery patch digitizing can help turn your artwork into a practical embroidery file.