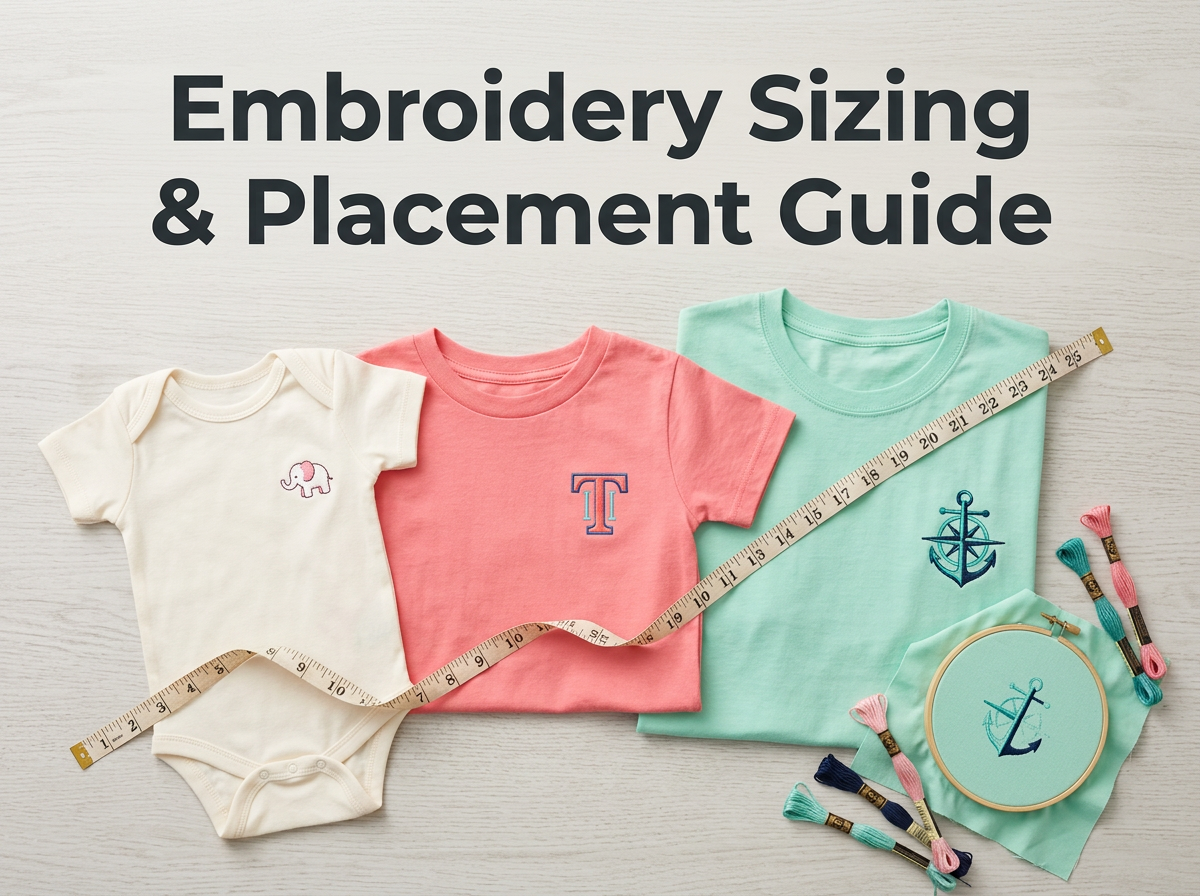
One of the most common questions we get at EmbroideryDigitize.com is: "What size should my embroidery design be, and where exactly should it go on the shirt?"
Getting this wrong is one of the fastest ways to ruin an otherwise beautiful embroidery digitizing job. A design that's too wide will crowd the seams. A design placed too high or too low will look unprofessional in photos and on the body. That's why we've put together this complete embroidery sizing and placement chart — a reference guide our digitizers use every day, and one you can use whether you're stitching onesies, toddler tees, youth shirts, or full adult apparel.
Let's break it down garment by garment.
Why Correct Sizing & Placement Matters in Embroidery Digitizing
Before diving into the numbers, it's worth understanding why this chart exists in the first place. Embroidery digitizing isn't just about converting artwork into stitches — it's about making sure that digitized file performs correctly on the actual fabric, at the actual size, in the actual spot a customer expects.
A design that looks great at 10 inches wide on a mockup can look completely wrong once it's scaled down to fit a 3-6 month onesie. Stitch density, letter spacing, and fine detail all need to be adjusted for scale — which is exactly why professional digitizing (not just auto-digitizing software) makes such a big difference on smaller garments.
Infant Sizing & Placement (0-3 Months to 12 Months)
Infant garments require the smallest, most delicate digitizing work.
| Shirt Size | Design Width | Placement |
|---|---|---|
| 0-3 Months | 3 - 4" | 1" below neckline |
| 3-6 Months | 3 - 4" | 1" below neckline |
| 6-9 Months | 4 - 5" | 1" below neckline |
| 12 Months | 4.5" - 6" | 1" below neckline |
Digitizing tip: At this scale, fine text and small details are prone to thread bunching. We recommend simplifying tiny lettering and reducing stitch count on infant-sized files to keep the fabric from puckering.
Toddler Sizing & Placement (18 Months to 4T)
| Shirt Size | Design Width | Placement |
|---|---|---|
| 18 Months | 4 - 5" | 1.5" below neckline |
| 2T | 4 - 5" | 1.5" below neckline |
| 3T | 5 - 6" | 1.5" below neckline |
| 4T | 5 - 6" | 1.5" below neckline |
Toddler shirts give a little more room to work with than infant onesies, but the placement still needs to sit higher than youth or adult garments to look proportional on a smaller body.
Youth Sizing & Placement (X-Small to X-Large)
| Shirt Size | Design Width | Placement |
|---|---|---|
| X-Small | 6.5" | 2" - 2.5" below neckline |
| Small | 7" | 2" - 2.5" below neckline |
| Medium | 7.5" | 2" - 2.5" below neckline |
| Large | 8" | 2" - 2.5" below neckline |
| X-Large | 8.5" | 2" - 2.5" below neckline |
This is often the size range where custom team shirts, school spirit wear, and youth sports embroidery come into play — so accuracy here really matters for bulk-order consistency.
Adult Sizing & Placement (X-Small to 4X)
| Shirt Size | Design Width | Placement |
|---|---|---|
| X-Small | 8.5" | 3" - 3.5" below neckline |
| Small - Large | 9 - 9.5" | 3" - 3.5" below neckline |
| X-Large | 10" | 3" - 3.5" below neckline |
| 2X | 10.5" | 3" - 3.5" below neckline |
| 3X | 11" | 3" - 3.5" below neckline |
| 4X | 11.5" | 3" - 3.5" below neckline |
Special Placement Rules to Remember
A few extra rules apply across all garment categories, and these are worth pinning to your workroom wall:
- Ladies Fitted Shirts: Size down one size from the standard chart above.
- V-Neck / Scoop Neck Shirts: Place the top of the design 1.5" below the neckline, regardless of body size.
- Pocket Designs: Use a 3" width for Youth sizes, 4" width for Adult sizes XL and below, and 5" width for Adult 2XL and above.
Why Work With a Professional Digitizer Instead of Guessing
Even with a perfect chart, translating these measurements into a clean, production-ready embroidery file takes technical expertise. At EmbroideryDigitize.com, every file we produce is digitized to match your exact garment size and placement specs — so you're never stuck manually resizing a design and accidentally distorting the stitch density or lettering.
Here's what our embroidery digitizing service includes:
- Custom sizing for infant, toddler, youth, and adult garments based on the chart above
- Placement-ready files formatted for your embroidery machine, positioned exactly where they need to be
- Density and underlay adjustments so small designs (like infant sizes) stitch out cleanly without puckering
- Fast turnaround so you can keep production moving, whether it's a single design or a bulk order
- Multiple format exports (DST, PES, EXP, JEF, VP3, and more) compatible with all major embroidery machines
Get Your Designs Digitized the Right Size, the First Time
Whether you're running a small custom apparel shop or handling large production orders, using the correct sizing and placement chart is the difference between a professional-looking garment and a returned order. Skip the guesswork — send us your artwork and garment specs, and we'll digitize it to the exact size and placement your project needs.
Ready to get started? Upload your design and let our digitizing team handle the sizing, placement, and stitch optimization for you.
Have questions about sizing your next embroidery project? Contact EmbroideryDigitize.com today and get a free quote on your next digitizing order.
Get Your Design Professionally Digitized
Whether you're stitching one logo or producing thousands of embroidered garments, professional digitizing is the key to achieving clean, consistent, and production-ready embroidery.
Let our experienced digitizers turn your artwork into a flawless embroidery file that stitches beautifully the first time.
Not sure what your design will cost? Send it over and we'll give you an accurate stitch count and quote before you commit.