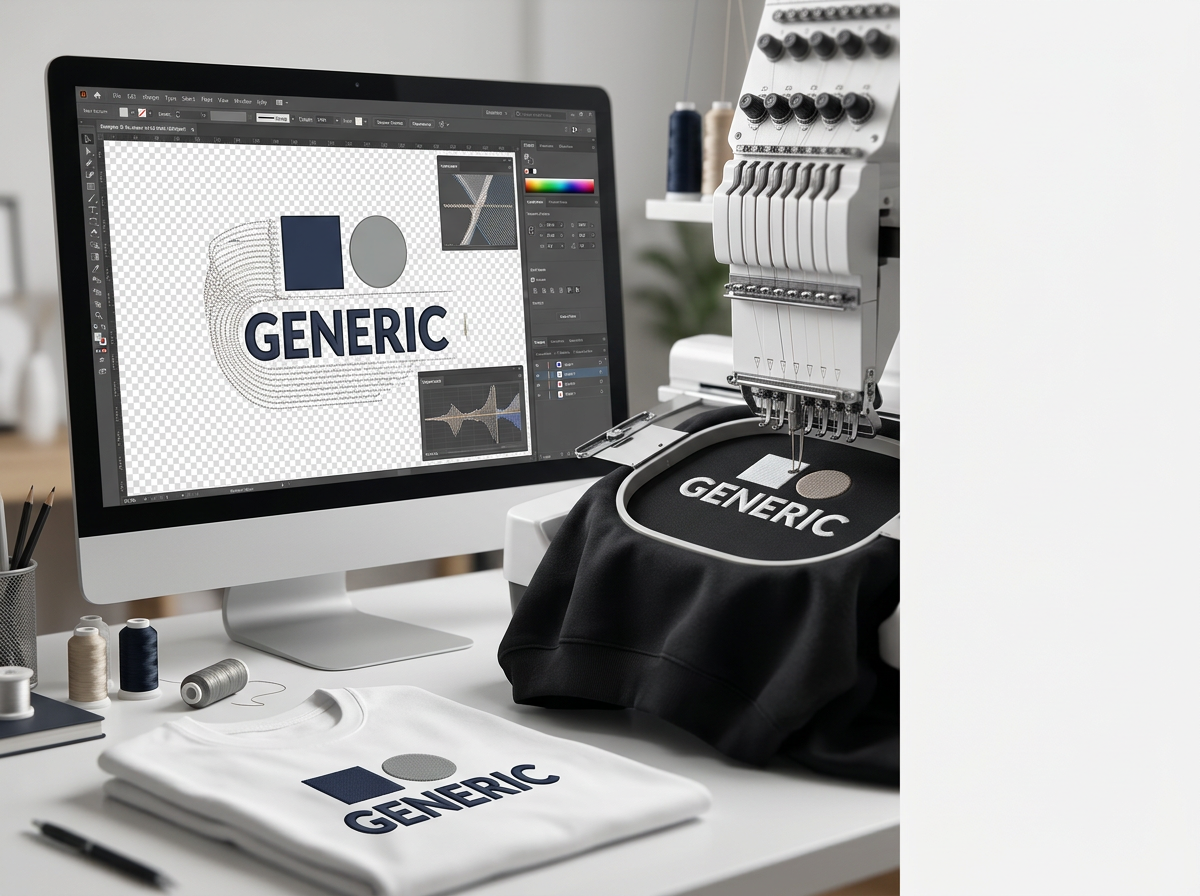
If you're planning to sell embroidered shirts, hoodies, hats, beanies, or other products through Printify, your artwork needs to be prepared differently than artwork intended for regular printing.
Embroidery uses thread instead of ink, which means tiny details, thin lines, gradients, small text, and complex artwork may not reproduce the way they appear on a screen. Preparing your artwork with embroidery limitations in mind can help create cleaner results and reduce the need for design adjustments during digitization.
Printify currently recommends a minimum text height of 0.25 inches (approximately 6.35 mm), a minimum line thickness of 0.05 inches (approximately 1.27 mm), and shape thickness between 0.05 and 0.5 inches. Printify also recommends using solid colors, simple shapes, transparent backgrounds, and high-resolution artwork. Designs can use up to six thread colors.
In this guide, we'll explain exactly how to prepare artwork for Printify embroidery, what to avoid, how to make logos embroidery-friendly, and when professional digitizing can help.
What Does It Mean to Prepare Artwork for Printify Embroidery?
Preparing artwork for embroidery means modifying your design so its important elements can be reproduced effectively with thread.
A design created for DTG, screen printing, sublimation, or other printing methods can contain details that work perfectly with ink but become difficult to reproduce with embroidery.
For example, a printed logo might contain:
- Very thin lines
- Small text
- Gradients
- Color blends
- Photographic details
- Distressed textures
- Intricate patterns
- Very small gaps between design elements
These elements can create problems when converted into stitches.
Preparing artwork for Printify embroidery is therefore more than simply uploading a PNG. The artwork should be designed or modified with the physical limitations of thread and embroidery in mind.
What Are Printify's Artwork Requirements for Embroidery?
Before preparing your design, it helps to understand the basic requirements.
| Artwork Element | Printify Recommendation |
|---|---|
| Minimum text height | 0.25 inches / approximately 6.35 mm |
| Minimum line thickness | 0.05 inches / approximately 1.27 mm |
| Shape thickness | 0.05–0.5 inches / approximately 1.27–12.7 mm |
| Thread colors | Up to 6 colors per design |
| Background | Transparent |
| Recommended source quality | At least 1200 × 675 px or 300 DPI |
These requirements are important because embroidery has physical limitations that digital artwork does not. Small elements may need to be enlarged or simplified during digitization if they cannot be reproduced clearly at their original size.
1. Start With a High-Quality Artwork File
The first step is to start with the best artwork you have.
Whenever possible, use an original high-resolution design instead of taking a screenshot, downloading a compressed social media image, or enlarging a small JPG.
High-quality artwork gives the digitizer a clearer reference and makes it easier to identify individual shapes, outlines, colors, and design elements.
Printify recommends using high-resolution files of at least 1200 × 675 pixels or 300 DPI for embroidery artwork.
For logos, vector artwork can be particularly useful because the design can be resized without losing the clean edges needed for artwork preparation.
Good artwork sources include:
- Original vector logos
- High-resolution PNG files
- High-resolution artwork exported at 300 DPI
- Professional logo files
- Clean digital illustrations
A low-quality image does not necessarily mean the project is impossible. However, it may require artwork cleanup, redrawing, vectorization, or professional preparation before digitizing.
2. Use a Transparent Background
For embroidery, your artwork should generally be supplied with a transparent background.
A transparent background makes it clear which parts of your artwork need to become embroidered elements and which areas should remain the product fabric.
For example, if your logo contains a white icon and a black outline, you don't want a large rectangular white background accidentally interpreted as part of the design.
Transparent backgrounds are especially important for logos intended for different garment colors because the same embroidery design may be placed on black, white, navy, gray, or other products.
Avoid:
- Solid rectangular backgrounds
- Photographic backgrounds
- Patterned backgrounds
- Unnecessary decorative backgrounds
- Background elements that are not part of the actual logo
If your existing artwork has a background, remove it before submitting the design for embroidery preparation.
3. Keep Text at Least 0.25 Inches Tall
Small text is one of the biggest challenges in embroidery.
Printify recommends keeping text at least 0.25 inches (approximately 6.35 mm) tall. Text smaller than this may lose clarity once converted into stitches.
This is particularly important for:
- Company slogans
- Website addresses
- Small brand names
- Dates
- Initials
- Product labels
- Fine lettering inside logos
A font that looks perfectly readable on a computer screen can become difficult to read after embroidery because thread has physical thickness and stitches occupy real space.
Choose embroidery-friendly fonts
When possible, choose fonts with medium-to-thick strokes and sufficient spacing between letters.
Bold sans-serif fonts are often easier to reproduce than extremely thin serif or script fonts.
If your brand requires a specific font, a professional digitizer can evaluate whether it will remain readable at the intended embroidery size and recommend modifications when necessary.
4. Keep Lines at Least 0.05 Inches Thick
Thin lines are another common problem when preparing artwork for embroidery.
Printify recommends a minimum line thickness of 0.05 inches, or approximately 1.27 mm.
This applies to outlines, decorative lines, icon details, borders, and other narrow elements.
Lines that are too thin may disappear, break up, or become inconsistent once translated into stitches.
Instead of extremely thin lines:
- Increase the line weight.
- Use a bolder outline.
- Remove unnecessary decorative lines.
- Combine small details into larger shapes.
- Simplify the illustration.
The goal is to preserve the identity of the artwork while making each important element large enough to survive the embroidery process.
5. Simplify Detailed Artwork
Embroidery rewards simplicity.
A complicated illustration can contain hundreds of tiny visual details, but those details may not translate well into thread.
If your artwork includes small decorative elements that do not contribute significantly to the overall design, consider removing them.
For example, a detailed animal illustration might contain individual hairs, tiny facial lines, texture marks, shadows, and small background elements. A successful embroidered version may use a simplified silhouette, stronger outlines, and only the most recognizable features.
When preparing artwork for embroidery, ask: “Will this detail still matter when the design is made from thread?”
If the answer is no, simplifying the detail may produce a better final result.
6. Avoid Gradients and Color Blends
Embroidery works differently from printing when it comes to color.
Printed artwork can smoothly transition from one color into another using gradients and blending. Embroidery uses individual thread colors, so subtle transitions are much more difficult to reproduce accurately.
For Printify embroidery, use solid, contrasting colors rather than gradients or subtle shading.
Instead of a gradient:
- Choose a solid color.
- Separate the design into distinct color areas.
- Use contrasting thread colors for important elements.
- Simplify complex shading.
This can make the design easier to digitize and help the finished embroidery maintain the visual character of the original artwork.
7. Limit Your Design to Six Thread Colors
Printify currently allows up to 6 thread colors per embroidery design.
This means artwork containing dozens of subtle shades should be simplified before embroidery.
For example, a printed illustration might contain 15 slightly different shades of blue. Instead of attempting to reproduce every shade, you could reduce the artwork to two or three solid blue tones.
Color simplification can actually make an embroidered logo look stronger and more intentional.
A good embroidery color palette should:
- Use solid colors.
- Have enough contrast between important elements.
- Avoid unnecessary shades.
- Stay within the available thread-color limit.
- Maintain the brand's most important colors.
8. Leave Enough Negative Space
Negative space is the empty area between or around elements of your design.
In printed artwork, a tiny gap can clearly separate two shapes. In embroidery, that same gap may become too small to remain open after stitching.
When preparing your design, make sure important elements have enough separation to remain visually distinct.
For example, if two letters almost touch, they may merge during embroidery. Similarly, a tiny hole inside a letter or icon may close once the surrounding area is filled with stitches.
To improve negative space:
- Increase the spacing between letters.
- Open up tiny gaps.
- Remove unnecessary interior details.
- Increase the size of important openings.
- Simplify overlapping elements.
Good negative space helps the embroidered design remain readable instead of turning into a dense block of thread.
9. Avoid Photographs for Embroidery
Photographs are designed to contain thousands of colors, gradients, textures, and tiny visual details. Embroidery has much more limited physical resolution.
That is why photographs are generally poor candidates for direct embroidery conversion.
If you want to embroider a person, pet, building, landscape, or other detailed subject, consider creating a simplified illustration or line-art version first.
A professional digitizer can also help determine how much of the original image should be retained.
10. Be Careful With Distressed and Textured Designs
Distressed graphics can look great in print because tiny scratches, breaks, speckles, and irregular textures are easy to reproduce with ink.
Those same details can become problematic in embroidery.
Very small distressed areas may disappear, become uneven, or create unnecessary stitching.
If your design has a vintage or distressed appearance, consider keeping the larger intentional elements while removing tiny texture marks that are unlikely to reproduce cleanly.
11. Choose the Right Design Size for the Product
Artwork preparation should always consider the product where the embroidery will be placed.
A logo designed for a large hoodie embroidery area may not be suitable at the same dimensions for a cap or beanie.
Printify offers different embroidery areas depending on the product. For example, its current guidance lists standard apparel embroidery areas around 4 × 4 inches, while example headwear areas include approximately 4 × 2.25 inches for caps, 5 × 1.75 inches for beanies, and 5.5 × 2 inches for bucket hats.
This means the same logo may need different proportions, detail levels, or sizing depending on where it will be embroidered.
Always check the embroidery area for the specific Printify product you plan to sell before finalizing the artwork.
12. Design for the Smallest Important Detail
One useful way to evaluate embroidery artwork is to identify the smallest element that absolutely must remain visible.
For example, imagine a logo containing:
- A large icon
- A company name
- A small slogan
- A thin decorative border
The large icon may embroider easily, while the slogan and border may be too small or thin.
Instead of treating every element equally, decide which parts are essential to the brand identity.
You may then:
- Increase the size of the important text.
- Remove the smallest slogan.
- Make the border thicker.
- Simplify the icon.
- Increase spacing between elements.
This approach creates artwork that is designed around embroidery's real-world limitations.
13. Understand the Difference Between Artwork and an Embroidery File
One of the most important concepts for Printify sellers is understanding that artwork and an embroidery file are not the same thing.
Your PNG, JPG, SVG, or other artwork file represents what you want the design to look like.
The embroidery file contains machine instructions describing how the design should be stitched.
Digitizing determines factors such as:
- Stitch type
- Stitch direction
- Stitch density
- Underlay
- Stitch sequence
- Thread changes
- Pull compensation
- Trims and jumps
Simply converting an image into an embroidery format does not guarantee that the design will stitch well.
Professional embroidery digitizing translates the prepared artwork into a stitch plan designed for the actual product and embroidery process.
14. Should You Prepare the Artwork Yourself or Hire a Professional?
If your design is simple, you may be able to prepare much of the artwork yourself. A basic logo with bold shapes, large text, solid colors, and a transparent background is usually easier to adapt for embroidery.
However, professional artwork preparation and digitizing can be valuable when your design contains:
- Small lettering
- Detailed illustrations
- Multiple overlapping elements
- Fine outlines
- Gradients
- Complex branding
- Photographic artwork
- Small logos intended for hats or other limited embroidery areas
A professional can determine what should be preserved, simplified, enlarged, or removed before creating the final embroidery file.
15. How to Prepare a Logo for Printify Embroidery: Step-by-Step
Here is a simple workflow you can follow before uploading your artwork to Printify.
Step 1: Start With the Original Artwork
Use the highest-quality version of your logo or illustration available.
Step 2: Remove the Background
Place the design on a transparent background and remove unnecessary background elements.
Step 3: Check the Text
Make sure important text is at least 0.25 inches tall and uses a readable, sufficiently bold font.
Step 4: Check Line Thickness
Make sure important lines are at least 0.05 inches thick. Increase the weight of thin outlines where necessary.
Step 5: Simplify Details
Remove tiny decorative elements, intricate patterns, photographic details, and other features that may not survive embroidery.
Step 6: Simplify Colors
Replace gradients and subtle blends with solid colors and keep the design within Printify's six-color embroidery limit.
Step 7: Check Negative Space
Make sure important gaps and openings are large enough to remain visible after stitching.
Step 8: Check Product Size
Look at the embroidery area of the specific Printify product you want to sell and make sure the design is appropriate for that space.
Step 9: Review the Design at Actual Size
Do not evaluate the design only while zoomed in on your computer. View it at the approximate finished embroidery size.
Step 10: Digitize and Test
Once the artwork is embroidery-ready, it can be converted into a machine-ready embroidery file. Whenever possible, review a physical sample before committing to a large product launch.
What Happens if Your Artwork Doesn't Meet Printify's Embroidery Guidelines?
If your artwork contains very small text, thin lines, complex details, gradients, or other elements that are difficult to reproduce, adjustments may be necessary during the digitizing process.
Printify notes that smaller text, thin outlines, and fine details may be enlarged or simplified during digitization to help ensure they stitch properly.
This is important for sellers because the final embroidered result may not look exactly like the original digital artwork.
Instead of thinking of embroidery as a pixel-perfect reproduction process, think of it as a translation from digital artwork into physical thread.
The objective is to preserve the design's most important visual characteristics while making it suitable for embroidery.
Why Does My Printify Embroidery Preview Look Different From the Final Product?
An embroidery mockup is useful for checking general placement and appearance, but a digital preview cannot perfectly reproduce the physical properties of thread.
Thread thickness, stitch direction, density, texture, fabric, and lighting can all affect the finished appearance.
As a result, the final embroidered product may look somewhat different from the preview shown in the product creator.
For important products or new designs, ordering a sample is a smart way to evaluate the real embroidery before publishing or scaling the product.
Common Artwork Mistakes to Avoid on Printify Embroidery
Before uploading your artwork, check for these common problems:
- Text smaller than 0.25 inches.
- Lines thinner than 0.05 inches.
- Very thin cursive or serif fonts.
- Gradients and color blends.
- More than six intended thread colors.
- Photographic backgrounds.
- Solid backgrounds that should be transparent.
- Tiny gaps between design elements.
- Intricate patterns that are too small.
- Excessive distressed texture.
- Low-resolution source artwork.
- Too much detail for the selected embroidery area.
Printify Embroidery Artwork Checklist
Use this checklist before submitting your design:
- Use high-resolution artwork.
- Preferably work from the original logo or vector artwork.
- Use a transparent background.
- Keep important text at least 0.25 inches tall.
- Keep important lines at least 0.05 inches thick.
- Use bold, readable fonts.
- Use solid, contrasting colors.
- Keep the design within six thread colors.
- Remove unnecessary gradients and shading.
- Simplify intricate details.
- Avoid photographs and extremely detailed illustrations.
- Give important elements enough negative space.
- Check the embroidery area of the exact Printify product.
- Review the design at its intended physical size.
- Consider ordering a sample before launching the product.
Frequently Asked Questions About Preparing Artwork for Printify Embroidery
What size should text be for Printify embroidery?
Printify recommends a minimum text height of 0.25 inches, or approximately 6.35 mm. Smaller text may need to be enlarged or simplified to remain readable when stitched.
What is the minimum line thickness for Printify embroidery?
Printify recommends keeping lines at least 0.05 inches, or approximately 1.27 mm thick. Very thin lines may disappear or stitch inconsistently.
How many colors can I use for Printify embroidery?
Printify currently allows up to 6 thread colors per embroidery design. Solid, contrasting colors are recommended instead of gradients or subtle color blends.
Can I use a PNG for Printify embroidery?
High-quality artwork can be used as the source for embroidery preparation, but a PNG is not itself a machine embroidery file. The artwork must be digitized into stitch instructions for embroidery production.
Should my Printify embroidery design have a transparent background?
Yes. Printify recommends uploading embroidery artwork with a transparent background so unnecessary background areas do not become part of the stitching.
Can I use a gradient in an embroidered Printify design?
Gradients and subtle color blends are not ideal for embroidery because embroidery uses individual thread colors rather than continuous printed color transitions. Simplifying gradients into solid color areas usually produces a more reliable embroidered result.
Can I embroider a detailed illustration on Printify?
Detailed illustrations can sometimes be adapted for embroidery, but they may need to be simplified. Tiny details, thin patterns, and photographic elements may not reproduce clearly with thread.
Why does my Printify embroidery look different from my original artwork?
Embroidery translates artwork into physical stitches. Thread thickness, stitch direction, density, texture, and fabric can change the appearance of fine details. A professional digitizer may need to simplify or modify certain elements so the overall design remains clear.
Do I need embroidery digitizing for Printify?
If your artwork needs to be converted into a machine-ready embroidery design, digitizing is required. Digitizing determines how the artwork will be constructed from stitches, including stitch types, density, sequencing, underlay, and other production settings.
Should I order a sample before selling my Printify embroidered product?
Ordering a sample is recommended when the physical appearance of the embroidery is important. A sample lets you evaluate the actual thread texture, detail, placement, colors, and overall appearance before promoting the product to customers.
Get Your Artwork Professionally Prepared for Printify Embroidery
Preparing artwork for Printify embroidery can be straightforward when the design already uses bold shapes, readable text, solid colors, and sufficient spacing. But logos with small details, thin lines, gradients, complex illustrations, or intricate branding often require professional preparation before they are ready for embroidery.
That's where professional artwork preparation and embroidery digitizing can make a difference.
Whether you're launching your first Printify embroidered product or building a large print-on-demand catalog, properly prepared artwork helps create designs that are easier to digitize, easier to reproduce, and more likely to look professional on the finished product.
Hire Us to Prepare Your Artwork for Printify Embroidery
Have a logo or design that isn't quite ready for Printify embroidery?
Let our experienced embroidery digitizers prepare your artwork for production. We can help simplify complex artwork, improve line thickness, adjust small details, prepare embroidery-friendly colors, and create a professional machine-ready embroidery file suited to your intended Printify product.
Whether you're preparing one logo or creating embroidery designs for an entire print-on-demand store, we'll help turn your artwork into a clean, production-ready embroidery design.
Not sure if your artwork is suitable for Printify embroidery? Send it to us and we'll review the design, recommend any necessary adjustments, and provide an accurate quote before you commit.
Get your artwork professionally prepared and digitized for Printify embroidery today.